

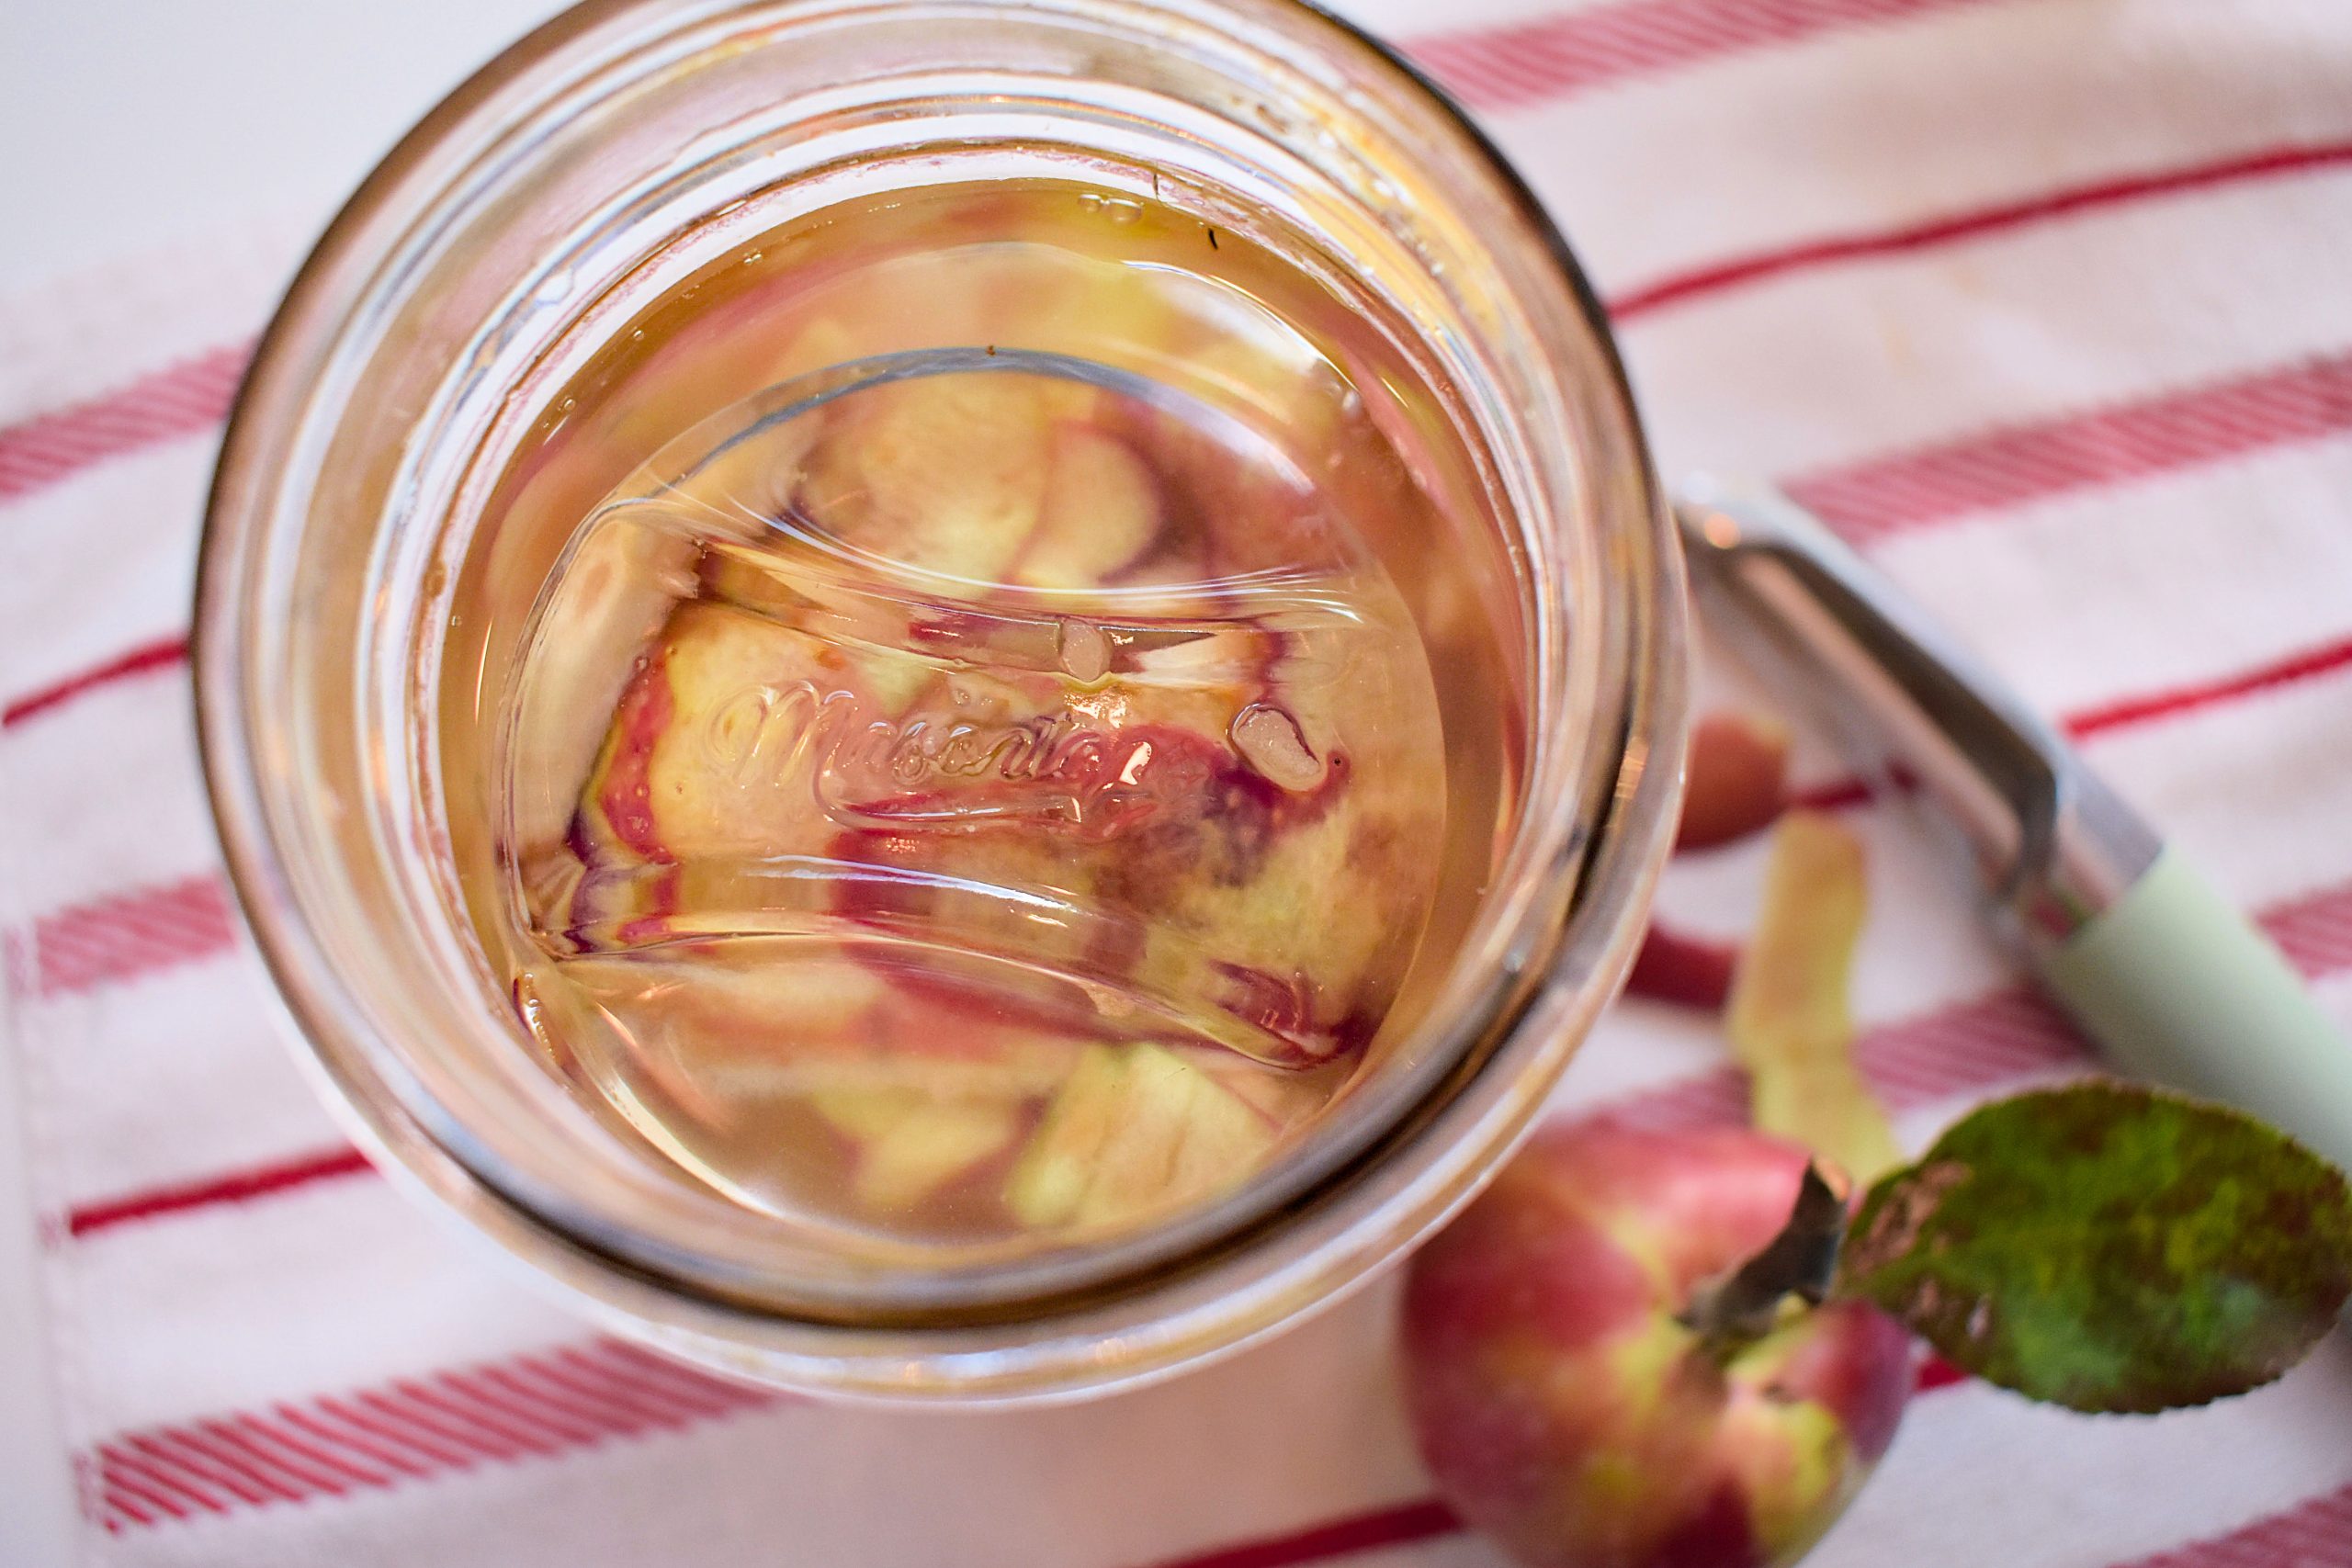
 Did you know that you can make your own homemade apple cider vinegar out of apple scraps that would otherwise go to waste? So don’t toss those apple cores and peels…make homemade vinegar instead!
***
Fall means apple season, and where I live (on Vancouver Island), apples are wildly abundant this time of year.
Many folks around here have apple trees in their backyard, but don’t want to deal with the surplus, which means there are lots of free apples up for grabs right now.
Even though we just planted our own apple tree, it will take a few years to produce fruit, which means I look to my local community this time of year to fill in the gaps. This year (2026) was a bumper crop year, and over the past month or so, I’ve been grateful to receive multiple boxes and bags of free apples from neighbours and community members who’d rather not see them go to waste.
In years past, I volunteered with our local gleaning organization to help pick surplus apples. Under this program, volunteers pick the apples, and then one third goes to our local food bank or gets turned into apple cider to sell, with profits going back to local food securtiy initiatives. One third goes to the farmer or homeowner (if they want it), and one third goes to the volunteers. All of this to say, we’re regularly blessed with an abundance of free apples every fall, and with food prices continuing to rise, I don’t take that for granted.
In the spirit of not taking any food for granted, I also do my due diligence to avoid food waste at all costs. Whatever we can’t use fresh, we preserve in some form.
Some of my favourite ways to preserve apples include basic applesauce, dried cinnamon apple slices, and apple pie jam. But with all of those recipes, I’m left with all of the apple cores and peels. While I could just compost them, I like to get one more use out of them first.
This homemade apple cider vinegar made from apple scraps is a great way to put the peels and cores to good use, and create another useful product that will save you money at the grocery store.
What Can You Do With Homemade Apple Cider Vinegar?
Homemade apple cider vinegar can be used like any other store-bought vinegar. You can use it in salad dressing recipes, add a glug when making homemade bone broth (it helps to extract collagen and minerals), use it as a base for fire cider, or mix some into a cup of water to drink for health benefits.
One important note: Homemade vinegar should NOT be used in canning. When a canning recipe calls for bottled apple cider vinegar , you cannot simply replace it with homemade ACV. This is because many canning recipes require a specific percentage of acetic acid (typically 5%), and there’s no way to guarantee the exact acidity percentage in homemade vinegar. So stick to store-bought vinegars with a 5% acetic acid ratio when canning!
You can also make homemade vinegar from other fruits like pears or peaches. I haven’t personally tried making peach vinegar, but I did make pear vinegar a few years ago, and it was wonderful. The basic fermentation process is essentially the same.
How to Make Your Own Raw Apple Cider Vinegar
To make your own raw apple cider vinegar, all you need is a fermentation vessel (I like to use a big mason jar), a bunch of apple scraps, and filtered water. You can use other apple pieces if you don’t have enough scraps, but this recipe will work even with nothing but apple cores and peels.
It’s a good idea to use organic apples, as any chemical sprays may interfere with the fermentation process. Plus, apples are regularly found on the EWG’s “dirty dozen” list, so it’s always best to use organic apples whenever you can.
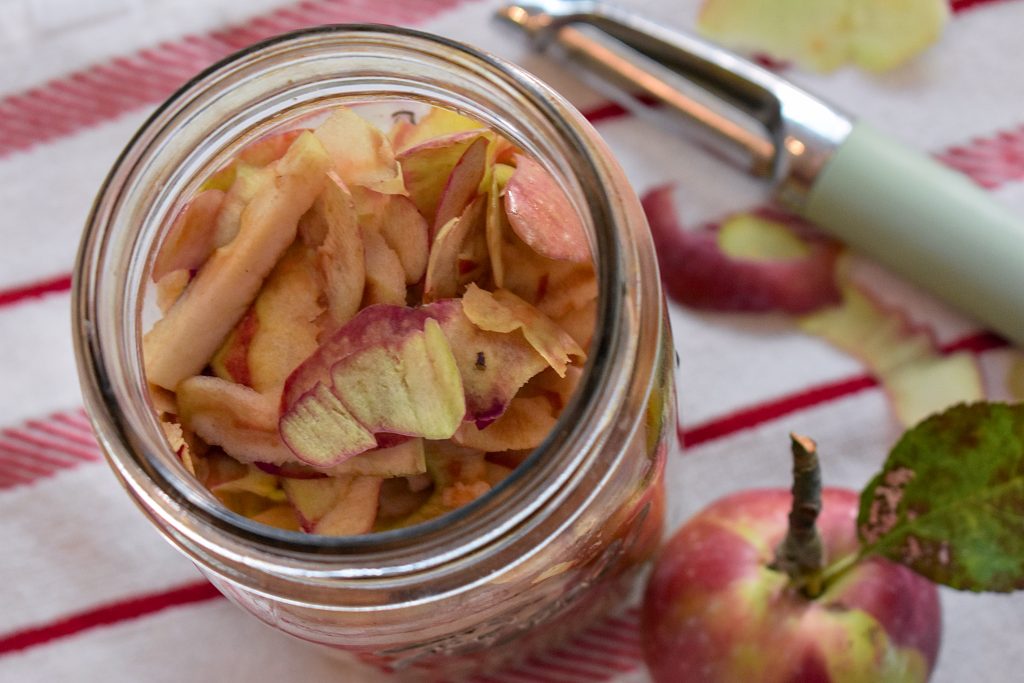
First, wash your whole apples to remove any dirt or debris before peeling. Peel and core the apples and use the apple slices however you like. Reserve the apple cores, skins and peels, and any other apple scraps you’ll be using, making sure not to include any bits that are badly blemished or rotten.
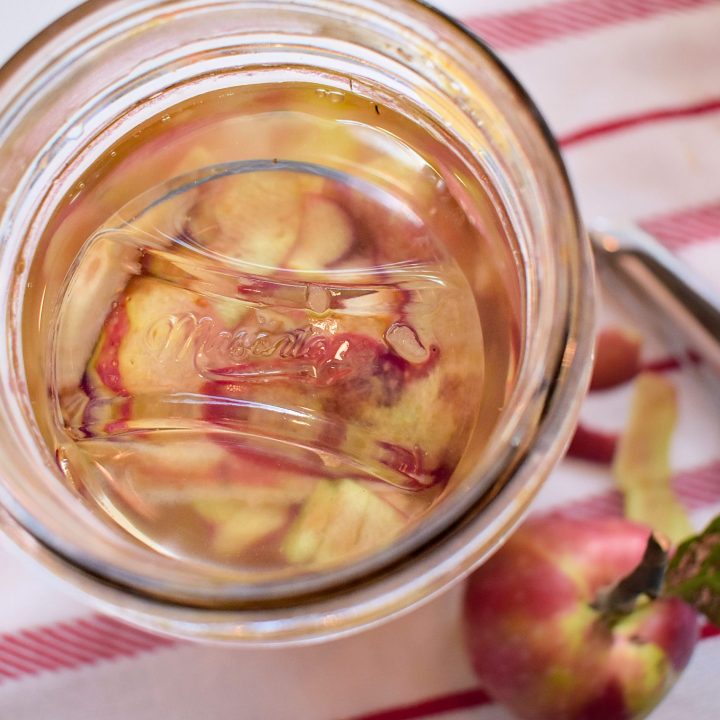
Tightly pack your apple scraps into a clean glass jar and cover with filtered water until all the apple pieces are completely submerged.
At this point, some people like to add a little bit of sugar to help jump-start the fermentation process. I’ve personally never done this, as I’ve always found the natural sugars of the apple scraps to be sufficient. But if you do want to add sugar, the general guideline is to add about 1 tablespoon of sugar for each cup of water.
And don’t worry about the extra sugar…the good bacteria will feed on it during the vinegar fermentation process, and there will be significantly less sugar remaining in the finished product.
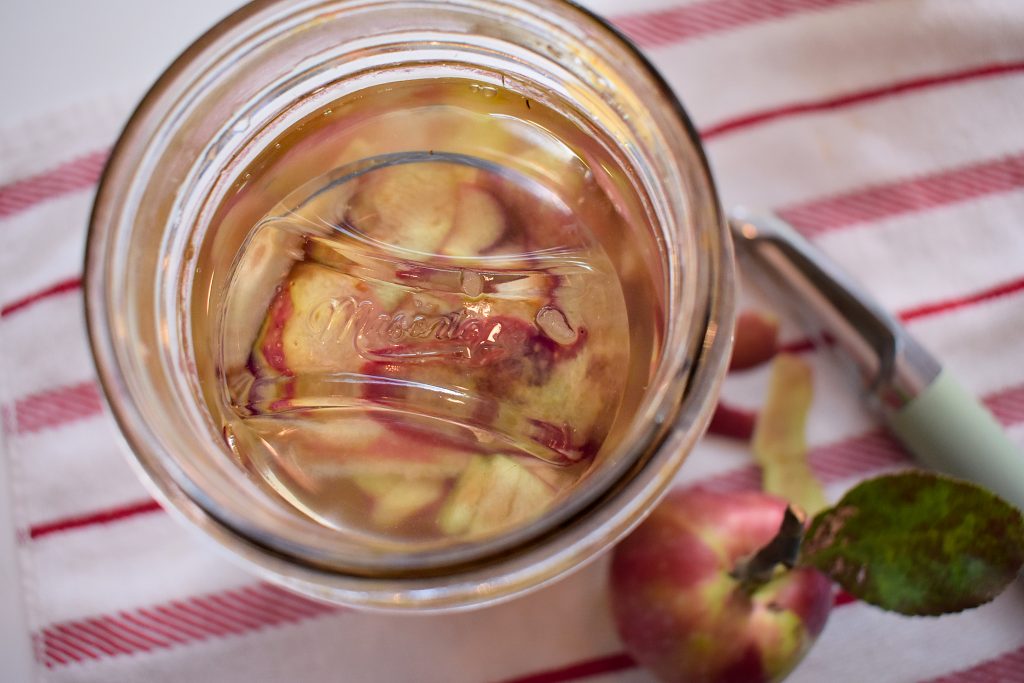
Apply some kind of fermentation weight to keep the apple pieces fully submerged under the water. You can use glass fermentation weights like these, a smaller clean glass jar, or anything else that will keep the apple scraps from floating to the top.
Cover your jar with some a lid to keep any fruit flies or debris out of your vinegar. If you’re using a Mason jar, you may want to use something other than the metal lids that they come with, as the fermentation process can sometimes cause metal lids and bands to rust. I like to use use these plastic Mason jar lids instead. Alternatively, you can use pickle pipes, or put a coffee filter over the top of the jar secured with a rubber band.
Whatever you do, be sure to keep fruit flies out (they LOVE homemade vinegar).
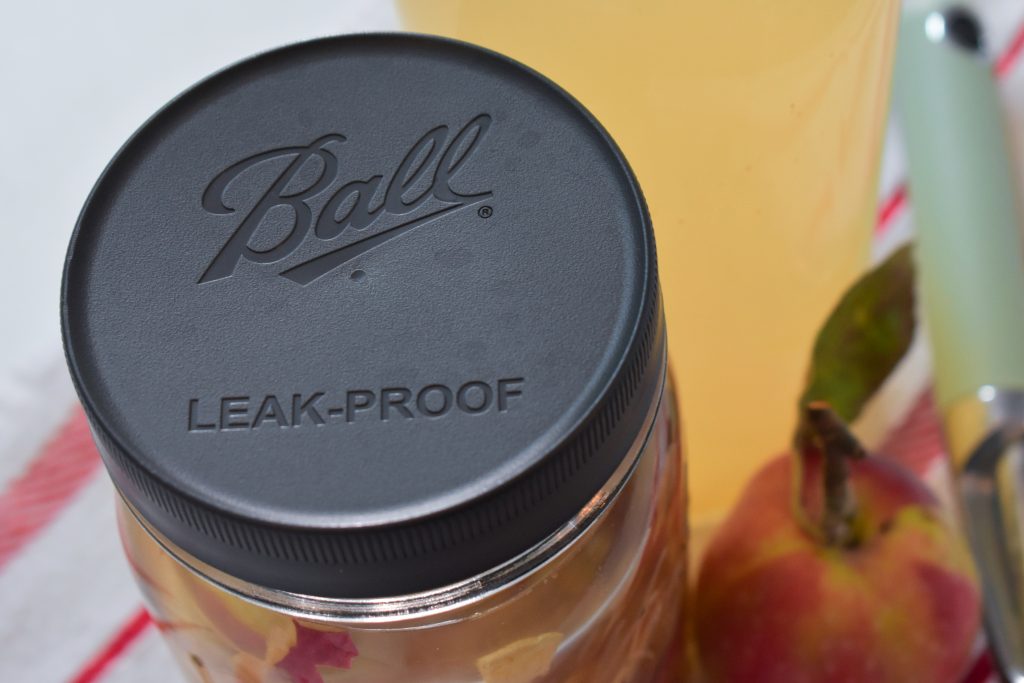
Set your jar somewhere out of direct sunlight and allow it to ferment for several weeks at room temperature.
I’ve found about 3 to 4 weeks to be ideal, but your timing will depend on the temperature of your house and the speed of the fermentation process. Because the end goal is homemade vinegar, this fermentation needs to go for longer than something like, say, homemade kombucha.
You may want to place your jar on something like a plate or a tea towel, as things can sometimes expand, bubble, and spill over the top of the jar during the fermentation process, making a sticky mess on your countertops.
If you have an airtight lid on your jar, be sure to take it off and “burp” your vinegar every day during the fermentation process so excess carbon dioxide doesn’t build up.
How to Store Your Homemade Vinegar
After a few weeks, once your vinegar is finished the first ferment and you’re happy with the flavor/acidity level, it’s time to bottle it up.
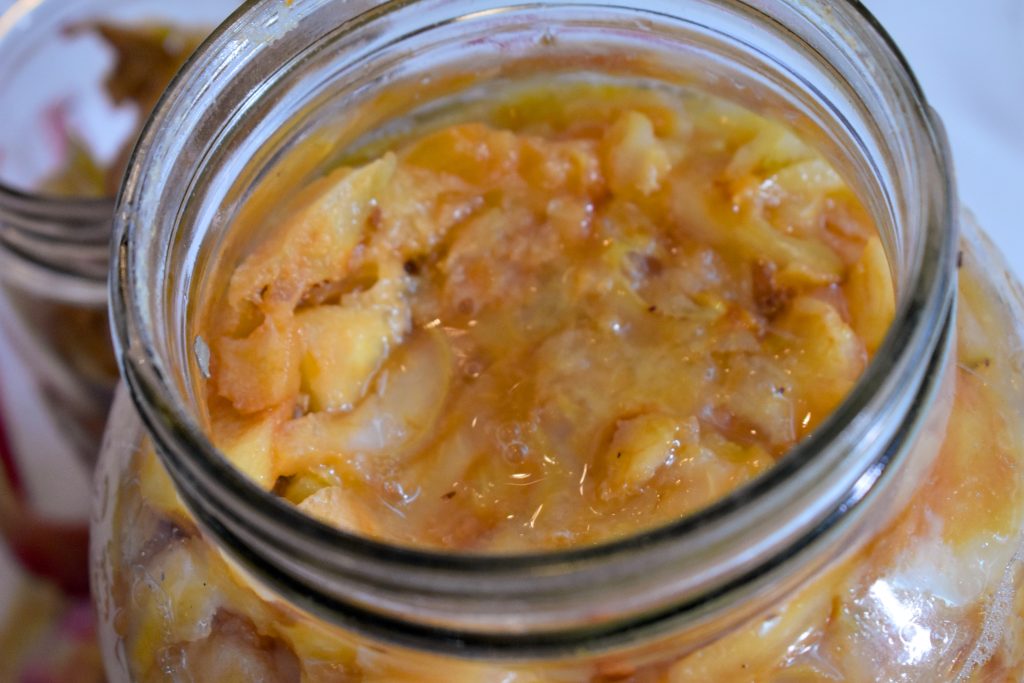
Strain the liquid out from the solids and discard the apple scraps. Adding them to your compost at this point adds additional beneficial bacteria, and chickens and livestock can also benefit from the fermented scraps.
Pour your strained apple cider vinegar into glass jars or bottles. I personally like to use swing-top bottles, which is also what I use for homemade kombucha. I’ve also used growlers that I’ve collected from local breweries, especialy if I find myself with a bigger batch.
Homemade apple cider vinegar can be stored in the pantry or the fridge, although refrigeration will slow the fermentation process down. I personally tend to keep mine in the pantry, because I don’t mind if it gets more “vinegar-y” over time. I’ve used my own apple cider vinegar after nearly two years in our pantry, and it’s been perfectly fine.
There you have it, friends! Another frugal, useful, no-waste way to use up scraps in the kitchen that would otherwise end up in the trash.
If you make this recipe, let me know how it turns out! Leave a comment or review and share your thoughts.
What other recipes or tips do you have for saving money and putting things to good use? Let me know down below.
Apple Scrap Cider Vinegar
Learn how to make homemade apple cider vinegar from apple scraps with this simple, low-waste method that turns kitchen scraps into something useful.
Ingredients
- Scraps from fresh, whole apples (cores, peels, etc.) — organic recommended
- Filtered water
- Sugar (1 tablespoon per cup of water) — optional
Instructions
- Wash, peel and core your apples, setting aside the scraps.
- Tightly pack apple scraps into a fermentation vessel. I like to use a large glass mason jar
- Fill fermentation vessel with enough filtered water to fully cover all of the apple scraps
- Optional: If you want to add sugar to speed up the fermentation process, you can add 1 tablespoon of sugar for each cup of water used
- Place a fermentation weight on top to keep the apple scraps fully submerged under the water. Apply a lid (or a coffee filter with an elastic band) to the top of the fermentation vessel to keep any debris or fruit flies out. If using a Mason jar, you may not want to use the metal lids as they can rust during fermentation
- Place your vessel somewhere out of direct sunlight and allow it to ferment for 3 to 4 weeks, or until you're happy with the flavour and acidity. Note: the apple scraps may expand and liquid can spill out of the jar during fermentation, so you may want to place your vessel on a plate or a tea towel to protect your countertops
- If you’re using an airtight lid on your fermenting vinegar, put the lid on loosely and be sure to “burp” the jar every day and allow the built-up carbon dioxide to escape
- Once you’re happy with the flavour and acidity of your homemade vinegar, strain and reserve the liquid, discard the solids, and transfer your finished vinegar to glass bottles or jars
- Homemade apple cider vinegar can be stored at room temperature for indefinitely, but is best used within a couple years for best flavour and quality.





0 Comments