


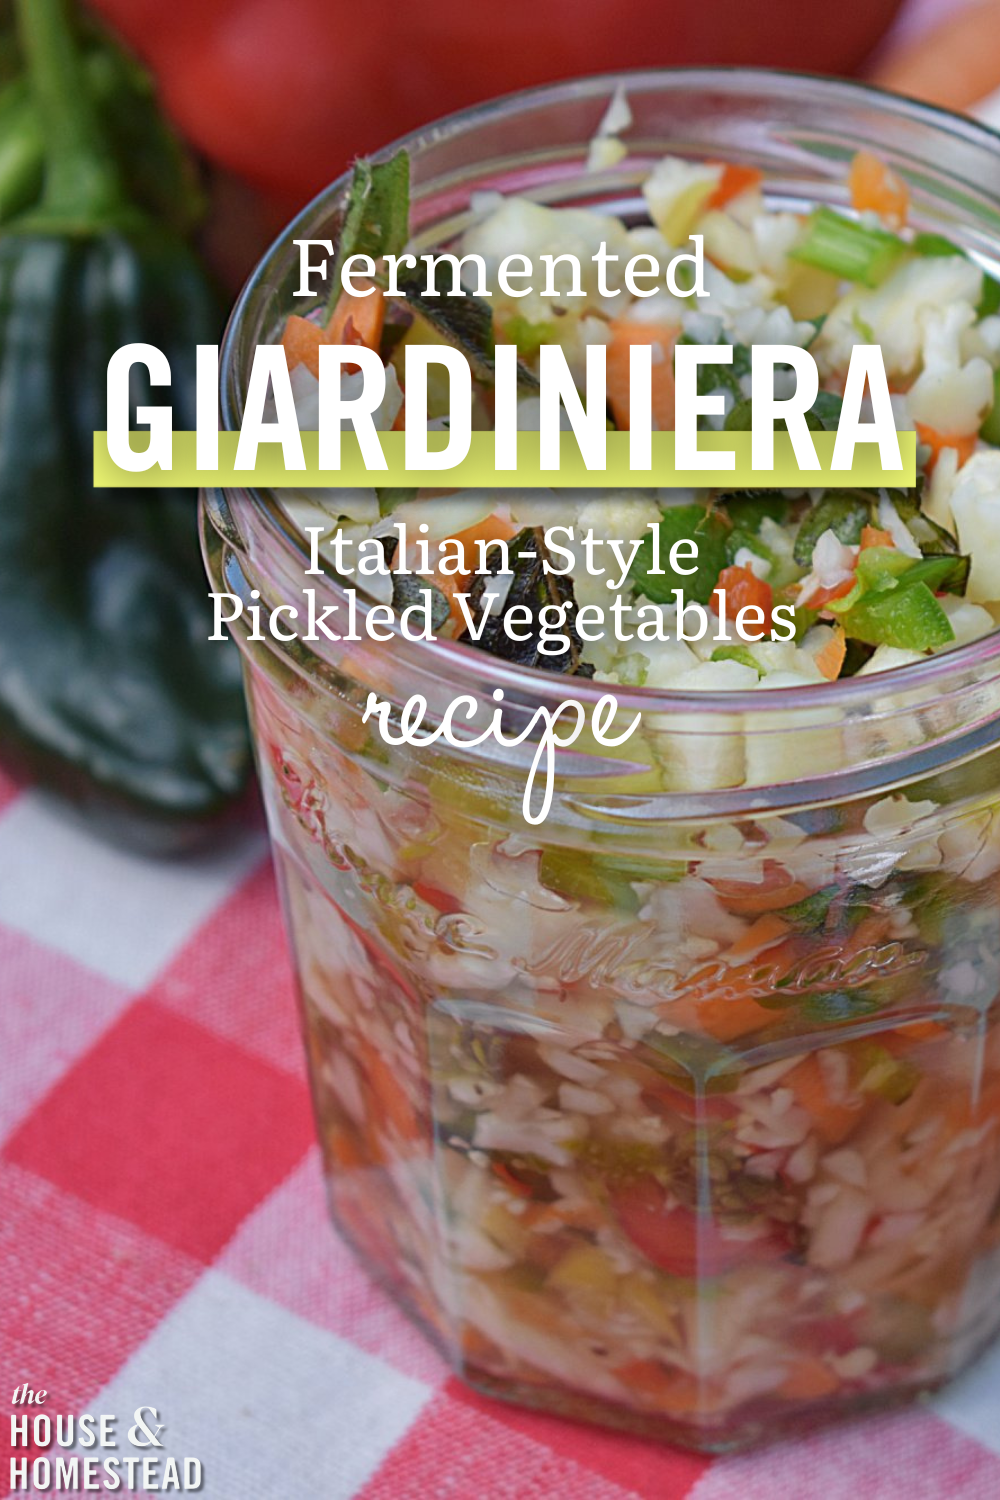
 Italian Giardiniera is a fermented mix of vegetables, creating a delicious condiment rooted in Italian tradition. Plus, it’s beneficial for gut health, packs a great crunch, and is a great way to maximize small harvests of mixed veggies!
***
This is the year of small harvests. At least, that’s the case in my garden. Usually we have baskets full of produce coming in from the garden by this time in August, but this year the harvest consists of a little bit of this, and a handful of that.
I won’t get into all of the boring details as to why this is the case (I know, you’re here for the giardiniera recipe, and have no interest in reading my life story in the meantime!) But suffice it to say, it’s been an abnormally busy year, and in this season of life that we’re in, the garden has taken a bit of a back seat.
That being said, we’ve still got a good variety of things coming out of the garden. From peppers and tomatoes to carrots and celery, beans, garlic, zucchini, and herbs galore. So the other day when I brought in my basket of goodies, I stood there staring at it, wondering what I should do with it. I didn’t have enough of any one thing to bother with preserving it. But I could put it all together and do something with my little veggie medley. That’s when I came up with the idea for fermented giardiniera.
What is Giardiniera Made Of?
Giardiniera is a spicy Italian-style relish made of a pickled mix of vegetables.
The term “giardiniera” literally comes from the Italian word for gardener, and the recipe itself is based on a popular Italian recipe for preserving vegetables out of the garden.
Traditional Italian giardiniera includes cauliflower, carrots, peppers, and celery, along with herbs and spices. Many giardiniera recipes call for a mix of red bell peppers and hot peppers, although you can omit the hot peppers if you don’t like spicy foods. Depending on the recipe (and what you have on hand), other common additions include onions (specifically pearl onions if possible), garlic, zucchini, chopped green beans, and even green olives.
Really, there are no hard and fast rules as to what should go into this delicious condiment steeped in Italian tradition. That’s the beauty of it! You can add pretty much whatever medley of vegetables you have on hand to this base giardiniera recipe.
The same goes for the spices: you can pretty much add whatever herbs and spices you like, although traditional Italian herbs are typically used, such as oregano, thyme, and bay leaves. I like to add fennel seeds as well, as we grow lots of fennel at home, and celery seeds are a must! If you like it spicy, you can add some additional red chilli flakes as well.
As for the pickling brine, you can either use a mixture of vinegar and water, (sometimes giardiniera is even made with a mix of vinegar and olive oil), or you can follow the old world style of pickling and make your own lacto-fermented giardiniera with a salt-water brine, as per the recipe below. I prefer to ferment my vegetables whenever possible as it’s just as easy as pickling with vinegar, plus I get the added health benefits that come from fermented foods.
Health Benefits of Lacto-Fermented Foods
While you could just pickle your vegetable mixture in a vinegar brine to preserve them, the fermentation process increases the health benefits of this giardiniera by adding gut-healthy live probiotics and helping to increase the bioavailability of nutrients in the vegetables, making it easier for your body to absorb and digest them.
Some of the many benefits of fermented foods include:
- Improved Digestion & Gut Health: Fermented foods are rich in natural probiotics, which support a healthy microbiome and aid in digestion.
- Enhanced Nutrient Absorption: Fermentation increases the bioavailability of nutrients, making them easier for the body to absorb and use.
- Better Immune Function: The probiotics in fermented foods can help to strengthen and improve the immune system.
- Better Physical and Mental Health: Multiple studies suggest a link between gut health and weight loss, the reduction in risk of heart disease, and even an improvement in mental health and cognitive function.
- Fermenting Is Easy: Making fermented vegetables is no more difficult than pickling them with vinegar, so why not enjoy the added health benefits of fermentation?

How to Make Basic Fermented Giardiniera
Typically the vegetables in giardiniera are cut into large chunks and then pickled. The giardiniera is then enjoyed either as a delicious condiment on top of sandwiches or is served as a side dish with meats and cheeses on a charcuterie board.
I decided to dice the vegetables into small pieces for this giardiniera recipe, as I intend to use it as a relish-style condiment on sandwiches and hotdogs, similarly to Chicago-style giardiniera. But the choice is yours. Whether you decide to dice your vegetables into small pieces or make a chunky style giardiniera, just make sure that you cut all of your vegetables to roughly the same size so that they ferment evenly.
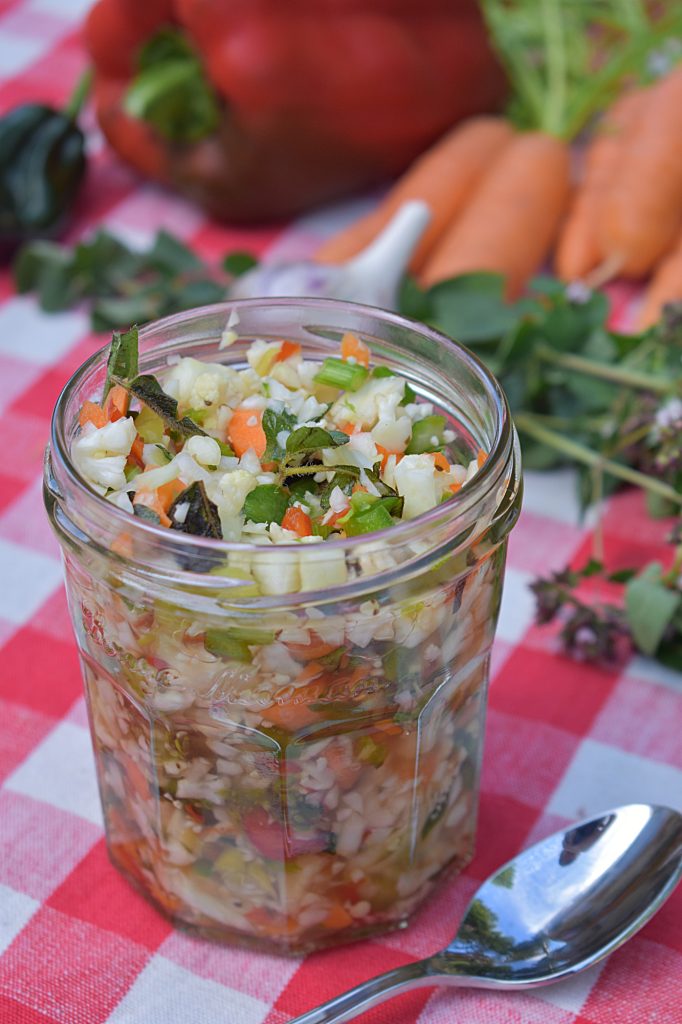
I included all of the traditional giardiniera vegetables in my recipe, including cauliflower, carrots, red bell peppers, and celery. I also added jalapeños and garlic from our garden, as well as fresh oregano, a few fennel seeds, celery seeds, and bay leaves (one per jar of giardiniera).
1. To make fermented giardiniera, start by washing and preparing all of your vegetables:
- Remove the core from the cauliflower and cut into florets.
- Remove the stems from the both the red and hot peppers, along with the seeds from the red bell peppers, then cut the peppers into bite-sized pieces, roughly the same size as the cauliflower florets (if you want a chunky style giardiniera).
- You can also remove some or all of the seeds from the hot peppers if you don’t want your giardiniera to be too spicy. I like it spicy, so I simply cut my jalapeños into rounds.
- Peel the carrots and slice into thick slices.
- Slice the celery ribs to about the same thickness as the carrots.
- Slice the garlic into large slices.
- If adding any other vegetables, prepare them now.
- If you want to dice the vegetables smaller for relish, either dice them by hand or use a food processor to pulse them to roughly the size of peas. Don’t over-process or you will end up with a vegetables paste!
- Chop any fresh herbs you’re using and set them aside. (I like using fresh oregano for this recipe, but you could simply use dried).
- Prepare any dried herbs and spices (I use a mixture of celery seeds, bay leaves and sometimes add fennel seeds too. Mustard seed, dried Italian spices, and dried red chilli flakes are also popular additions).
2. Add any fresh and/or dried herbs and spices you’re using to a clean glass jar or a fermentation vessel of your choice.
I like using quart jars, but you could use pint-sized mason jars if you prefer to make smaller batches. I like to add roughly one tablespoon of fresh oregano along with about a 1/2 teaspoon of celery seeds and one large bay leaf to each quart-sized Mason jar. You could also add a few fennel seeds, a little dried oregano or Italian seasoning in place of fresh oregano (about 1/2 teaspoon per quart jar), and/or 1/4 teaspoon of dried red chilli flakes if you want more heat.
3. Once you’ve added your herbs and spices, give the vegetables a good stir in a large bowl and then pack them into the jar(s), leaving a generous one to two-inch headspace at the top.
While you could always pack the vegetables into the jars first and add the seasonings after, the herbs and spices tend to float more easily than the vegetables once you pour the brine in, so packing the vegetables on top of them helps to keep them submerged.
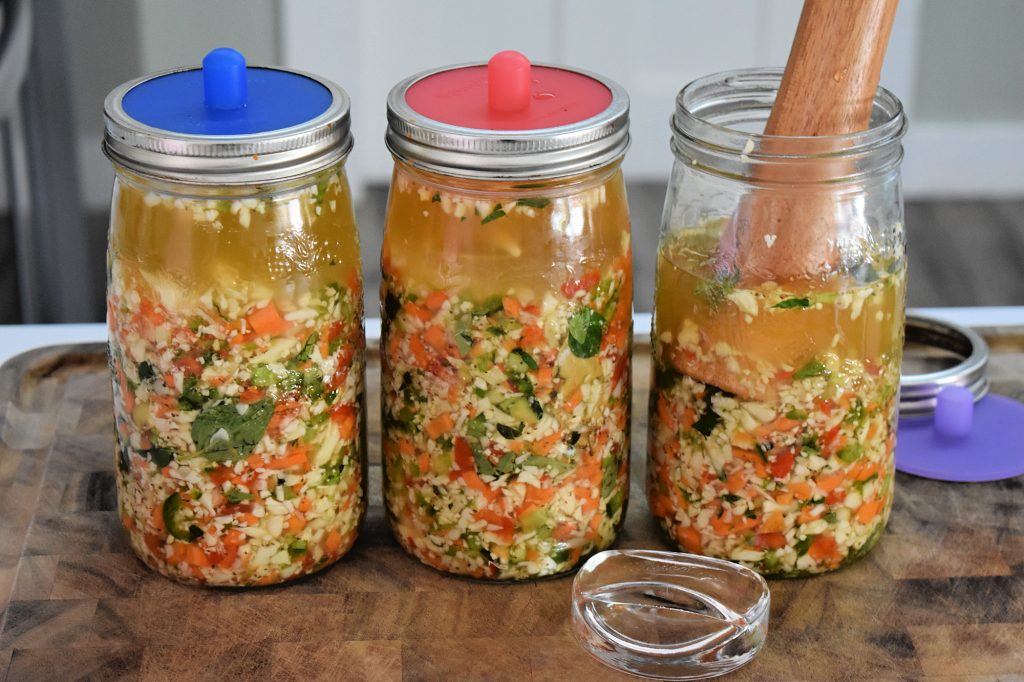
4. Make your salt brine by combining one tablespoon of pickling salt or sea salt (or my favourite, Redmond’s Real Salt), for every quart (4 cups) water.
Mix the salt and the water together in a small saucepan and heat over medium-low heat until the salt has dissolved in the water. (Keep in mind, if using Redmond’s Real Salt, some of the minerals will not dissolve entirely. This is completely normal and to be expected).
5. Once the salt has dissolved in the water, pour the salt brine overtop until all of the vegetables, herbs and spices are completely covered.
The trick to proper fermentation is to keep everything beneath the brine. Anything that floats above the brine will likely mold and go bad, so it’s crucial to keep everything submerged. I like to use a vegetable tamper to pack everything in tightly, and then I add fermentation weights on top of the veggies to help keep everything submerged beneath the brine. (This fermentation kit from MasonTops has everything you need for all sorts of fermentation projects!)
6. Finally, put some lids on the jars and set them aside at room temperature to ferment.
You can use a regular Mason jar lid, however as the brine begins to ferment and acidify, it can start to corrode the metal. It’s also wise to not put the lids on too tight as you want the giardiniera to breathe and capture the wild yeasts and bacteria in the air in order to properly ferment.
Rather than using regular Mason jar lids, I like to use silicone fermentation lids—secured with a Mason jar band—which allows the good yeasts and bacteria in while still keeping dust and bugs (like fruit flies) out, and also allows the carbon dioxide to escape as it builds during the fermentation process. Alternatively, I like to use these plastic Mason jar lids, which I just lightly screw on without tightening, or I will put coffee filters over the mouth of each jar and secure them with a rubber band until the initial fermentation process is complete.
7. Allow the jars to sit and ferment at room temperature out of direct sunlight for at least 7 to 10 days, and up to 2 weeks.
I like to place the jars on top of a clean towel on my kitchen counter in case the salt brine bubbles up and spills over during fermentation. This way the towel will absorb the brine instead of it getting all over the counter.
After about a week, you can taste the giardiniera every few days until you’re happy with the flavour. Once it has fermented to your liking, replace any silicone lids or coffee filters with regular lids (I still prefer the plastic Mason jar lids if possible to prevent corrosion, but regular lids will work in a pinch), and transfer the jars to your fridge or to a cold storage room; while the fermented brine will extend the shelf life of the giardiniera, if left at room temperature, it will continue to ferment until it’s too acidic, which may cause it to become unpalatable. By transferring the jars to your fridge or to a cold storage room like a root cellar or cool basement, you’ll slow down the fermentation process so the giardiniera ferments more slowly, preserving the flavour for longer. You’ll be able to enjoy your giardiniera for 3-6 months as long as it’s stored properly in the fridge.
What Do You Eat Giardiniera With?
While Italian giardiniera is great on its own, there are many delicious ways to enjoy this versatile and delicious condiment. My favourite way to eat it is on top of sandwiches (Chicago-style beef sandwiches are ideal), or on top of hot dogs. You can also serve it as great addition to charcuterie boards, mixed into salads (including chicken salad and tuna salad), or even served as a side dish with meat and potatoes in the winter months when fresh vegetables are scarce.
Some people even use giardiniera as a base for soups and sauces, sort of like a version of mirepoix, which is typically a mix of carrots, onions, and celery.
The options for how to use Italian giardiniera are plentiful and are really only limited by your tastes and imagination!
Bon appetit! Or rather, buon appetito:)
P.S. If you’re ready to jump-start your home fermentation journey, head over to Cultures For Health for everything you need. From cheesemaking kits to kombucha scobys to sourdough starters and more, they have you covered. Use code HOMESTEAD10 for 10% off your order!
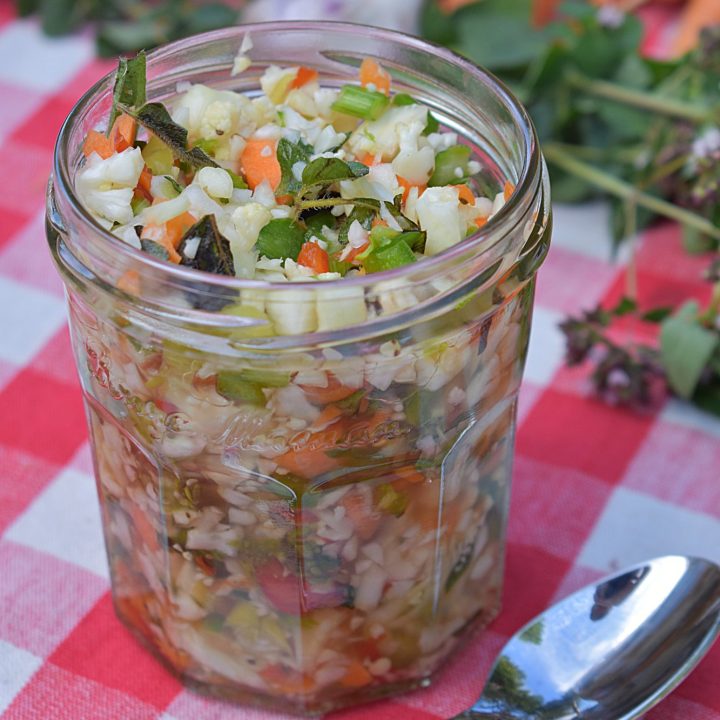
Fermented Giardiniera (Italian-Style Pickled Vegetables)
Learn how to make your own fermented giardiniera, a spicy Italian-style relish using a mix of garden vegetables and gut-healthy brine. This recipe is the perfect way to make use of small garden harvests!
Ingredients
- 1 small head cauliflower (or half a large head)
- 2 red bell peppers (or 3 to 4 sweet peppers)
- 4 to 5 jalapeño peppers (or other mildly spicy peppers, like serranos)
- 4 large carrots (or 6 to 8 smaller carrots)
- 4 celery stalks
- 4 cloves of garlic
- 3 tablespoons chopped fresh oregano
- 3 bay leaves
- 1 ½ teaspoons celery seeds
- 8 cups water (filtered)
- 2 tablespoons sea salt or pickling salt (I prefer to use Redmond’s Real Salt)
Instructions
- Wash and cut all of your vegetables into bite-sized pieces and mix them together in a large bowl for a chunky style Italian giardiniera. If you prefer more of a relish-style condiment that's not as chunky, dice the vegetables small or pulse them in a food processors, being careful not to over-process!
- Chop the fresh oregano and set aside.
- Add any fresh and/or dried herbs and spices you’re using to clean quart jars. Add roughly one tablespoon of fresh oregano along with about a 1/2 teaspoon of celery seeds and one large bay leaf to each quart jar.
- Pack all of the vegetables into the jars, leaving a generous two inches of headspace at the top.
- To make the salt brine, add the water and salt to a small saucepan and heat over medium-low heat and stir until the salt has completely dissolved in the water. (Keep in mind, if using Redmond’s Real Salt, some of the minerals will not dissolve entirely. This is completely normal and to be expected).
- Once the salt has dissolved in the water, pour the salt brine into the jars until all of the vegetables, herbs and spices are completely covered. I like to use a vegetable tamper to pack everything in tightly, and then I add fermentation weights on top to help keep everything submerged beneath the salt brine.
- Finally, put on jar lid and set aside to ferment at room temperature, out of direct sunlight. I like to use these silicone fermentation lids, however you can also use regular Mason jar lids or plastic Mason jar lids screwed on lightly until the fermentation process is complete. You may want to set the fermentation vessel on top of a clean towel or a paper towel in case the salt brine overflows a bit.
- Allow the jars to sit at room temperature to ferment for at least 7 to 10 days, and up to 2 weeks.
- After about a week, taste the giardiniera every few days until you’re happy with the flavour. Once it has fermented to your liking, replace any silicone lids regular lids—I prefer the plastic Mason jar lids for fermenting when possible to avoid corrosion, but regular lids will work in a pinch—and transfer the jars to your fridge or to cold storage; while the fermented brine will extend the shelf life of the giardiniera, if left at room temperature, it will continue to ferment until it’s too acidic which may cause it to become unpalatable. By transferring the jars to your fridge or to a cold storage room like a root cellar or cool basement, you’ll slow down the fermentation process so the giardiniera ferments more slowly, preserving the flavour for longer. You'll be able to enjoy your giardiniera for 3-6 months as long as it's stored properly in the fridge.
- Enjoy your giardiniera as a condiment on top of sandwiches and hot dogs (Chicago-style beef sandwiches and hot dogs are ideal), as a great addition to charcuterie boards, mixed into salads, or even as a side dish with meat and potatoes in the winter months when fresh vegetables are scarce.






Am I able to use uncooked cauliflower rice in this recipe?
Hi there, we’re not sure about this as it’s not something we’ve ever tried. It’s possible that such small pieces could become mushy, and quality can’t be guaranteed. You can always just omit the cauliflower altogether if needed! -Ashley (Assistant)
This sounds delicious! About how long will the ferment last once it is placed in the fridge?
Hi Donna,
This will last well in the fridge for up to 6 months, however it will technically last longer since ferments never really go bad, they just get a bit too sour after a while. I don’t think I’ve ever kept a ferment past the one-year mark, but they are technically still edible then. If you can eat it within three to six months, that’s ideal:)
I am planning to try this recipe. When living in South Korea I discovered how great fermented foods are. They place about 6 dishes of fermented veges on the table with each meal, so I am always on the lookout for new recipes.
Thank you so much.
Wonderful to hear! We really hope you enjoy it 🙂 -Ashley (assistant)