

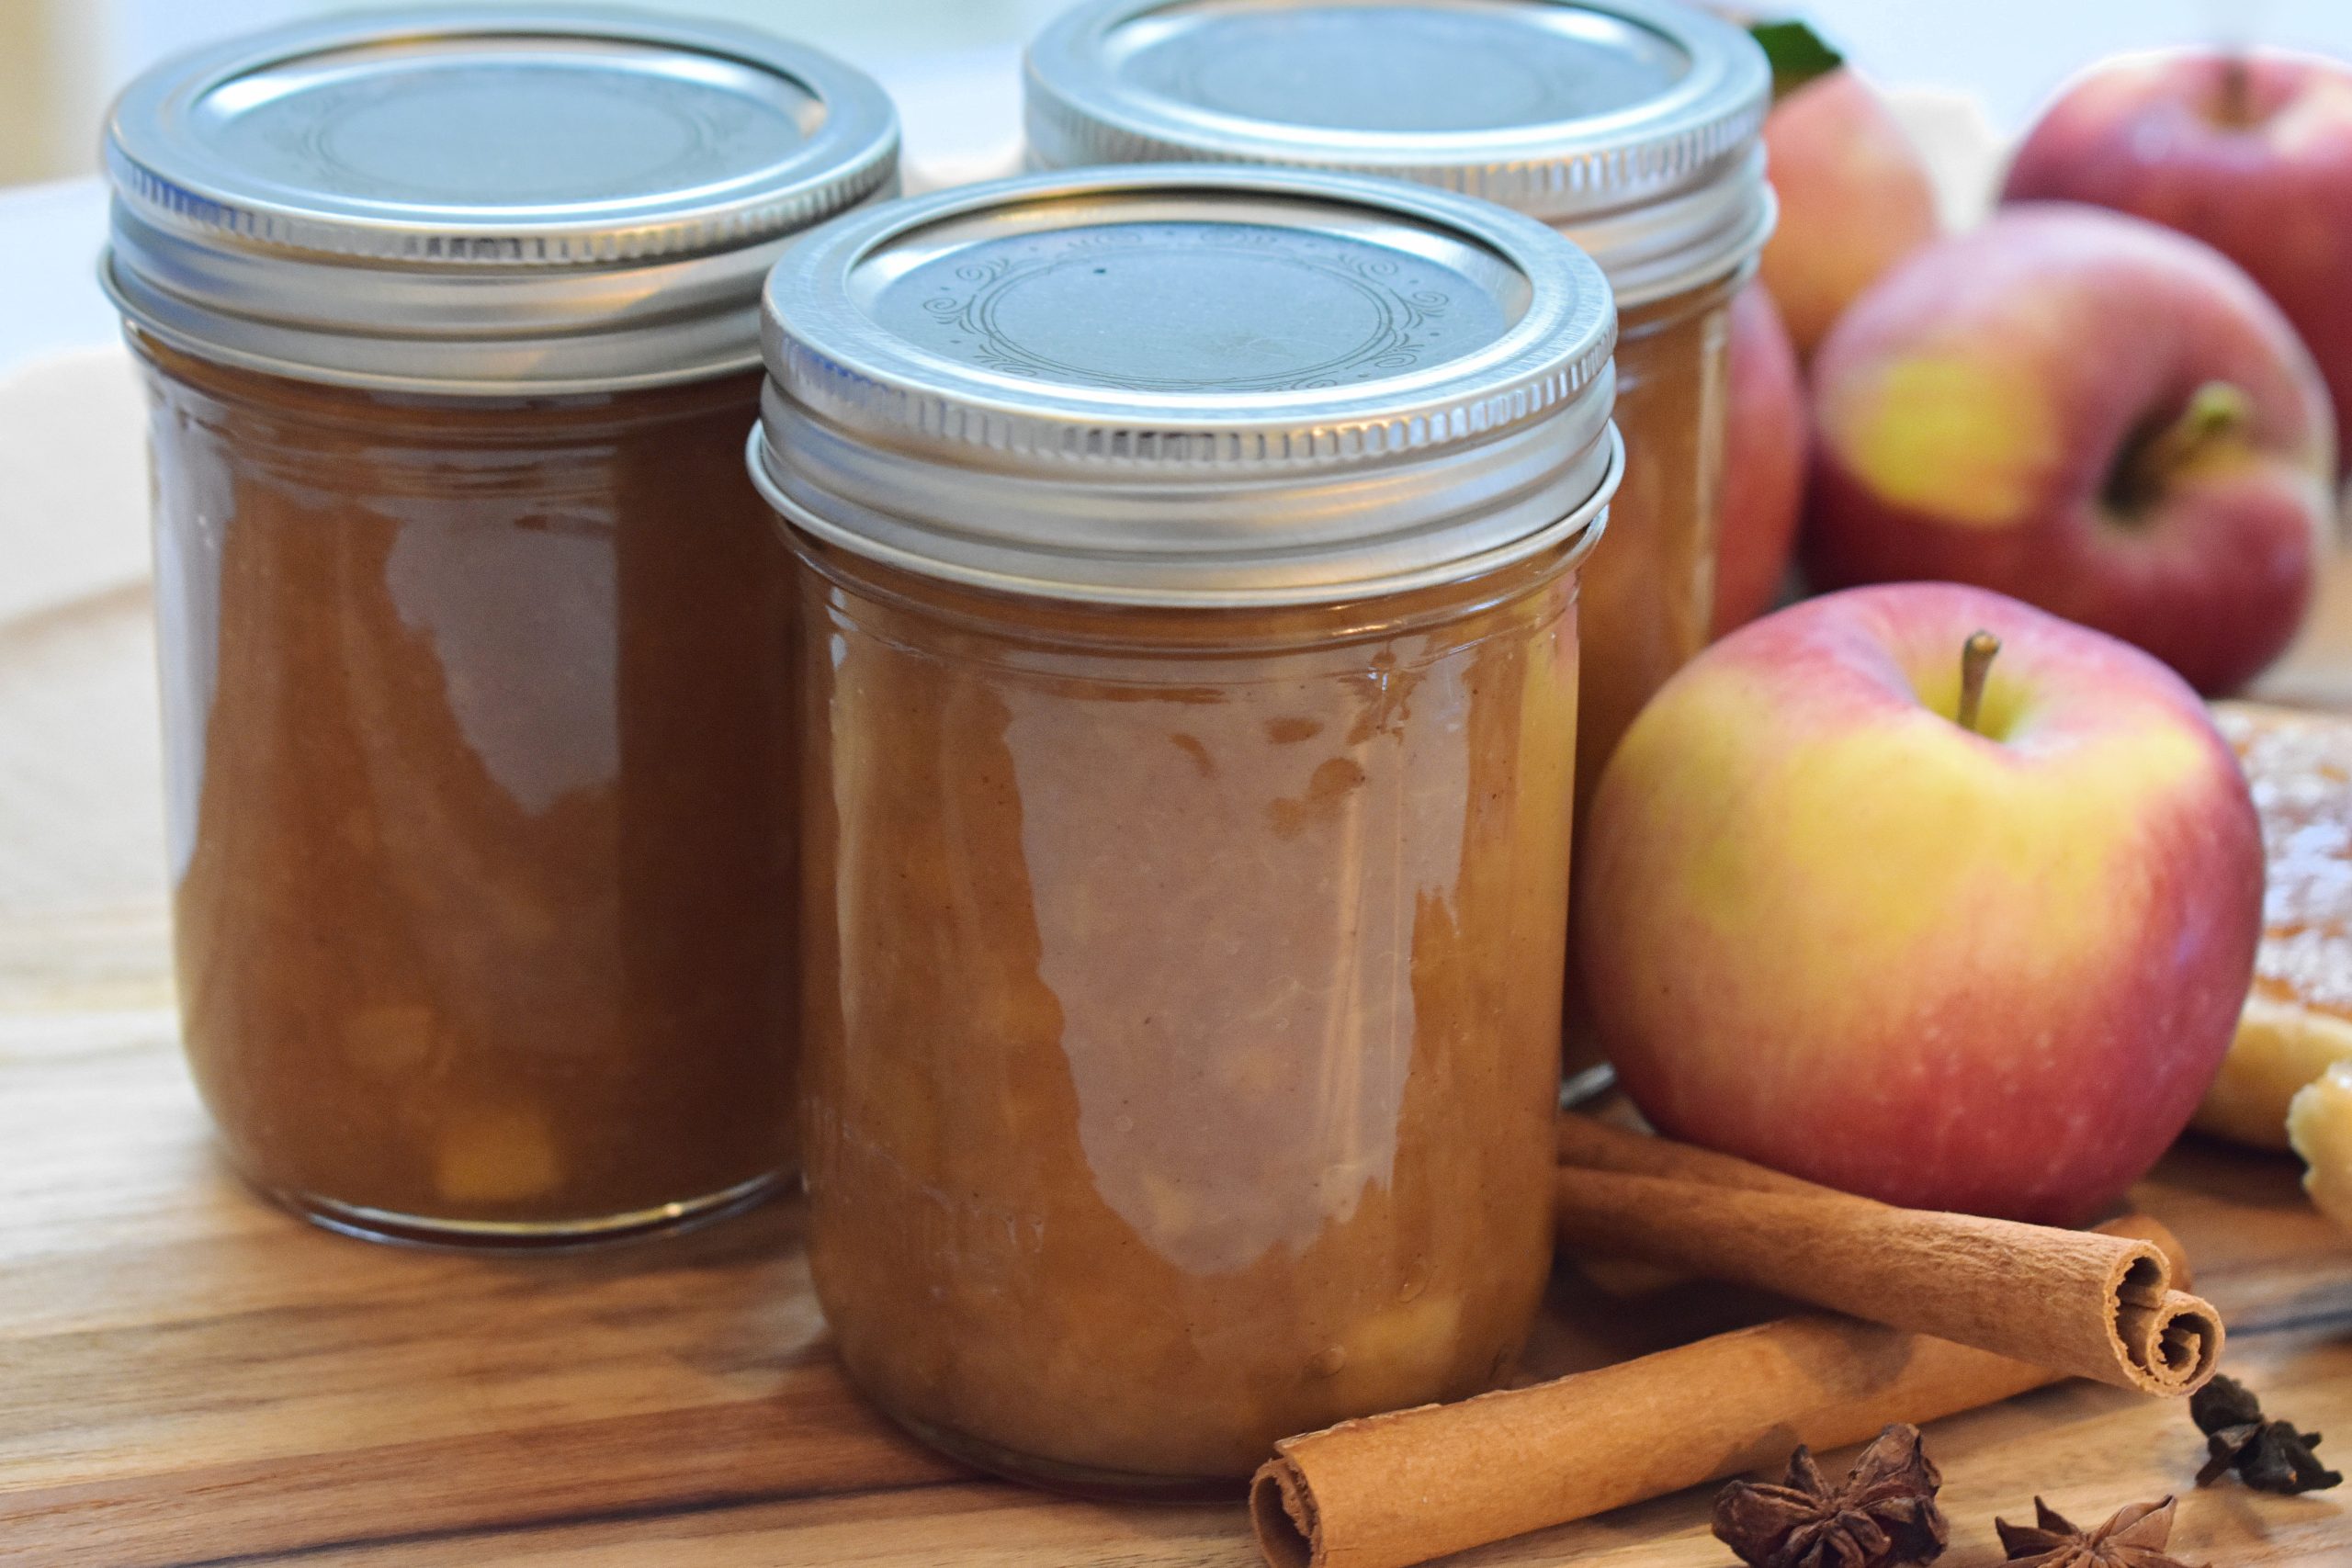
 If you love a fresh-baked apple pie (and who doesn’t?), then you’ll LOVE this apple pie jam recipe! Preserve the flavors of fall in jam form with this easy recipe.
***
Every fall, fresh apples are abundant in most parts of the western world. When it comes to using and preserving them, apple cider, applesauce, and pie filling probably come to mind.
But if you’re looking for something a little different—something that, perhaps, tastes like a homemade apple pie on your morning toast—then look no further than this apple pie jam recipe.
*Note: This recipe calls for standard powdered pectin. I use Certo, but any brand is fine…it’s usually very easy to find in any grocery store during the summer and fall season.
This is a water bath canning recipe. Learn more about water bath canning for beginners.
How to make Apple Pie Jam
Preparing Ingredients & Jars
To make this apple pie jam, you’ll need just a few basic ingredients.
First, you’ll need about 4-5 medium fresh apples. Any kind of apples will work for this recipe, but if possible, choose a firm variety that holds its shape well if you want some apple chunks to reman in your jam after canning. Granny smith is a nice choice as it’s firm and the tartness of the apples helps to balance some of the sweetness of the jam. Honeycrisp works well also. My favorite all-around apple variety for preserving is Gravenstein. If you’re lucky enough to have a Gravenstein apple tree (or know someone who does), these work great in this recipe.
You’ll also need bottled lemon juice, one package of powdered pectin, white sugar, brown sugar, cinnamon, ground ginger, and nutmeg.
And finally, you’ll need canning jars, lids, and rings. This recipe uses half-pint (8oz) jars. (Use code ANNA10 for 10% off at ForJars.)
Start by preparing your jars. Wash them with hot, soapy water (or run them through the dishwasher). Then fill your water bath canned with water and bring to a simmer over medium heat. Add the jars to the simmering water to sterilize them while you make your jam.
Peel, core, and dice the apples until you have 4 cups. Apple chunks will brown a bit after they’re peeled and diced, and while this is perfectly normal, you can toss them in a solution of water and bottled lemon juice once they’re peeled and cored to help prevent browning—1/4 cup of bottled lemon juice for every 1 cup of water is standard. However, this recipe will turn brown anyway with the addition of the spices used, so I don’t bother wasting the lemon juice.
Place the 4 cups of diced apples in a large glass measuring cup, and add just enough water to cover the apple chunks right to the 4-cup line.
Cooking the Jam
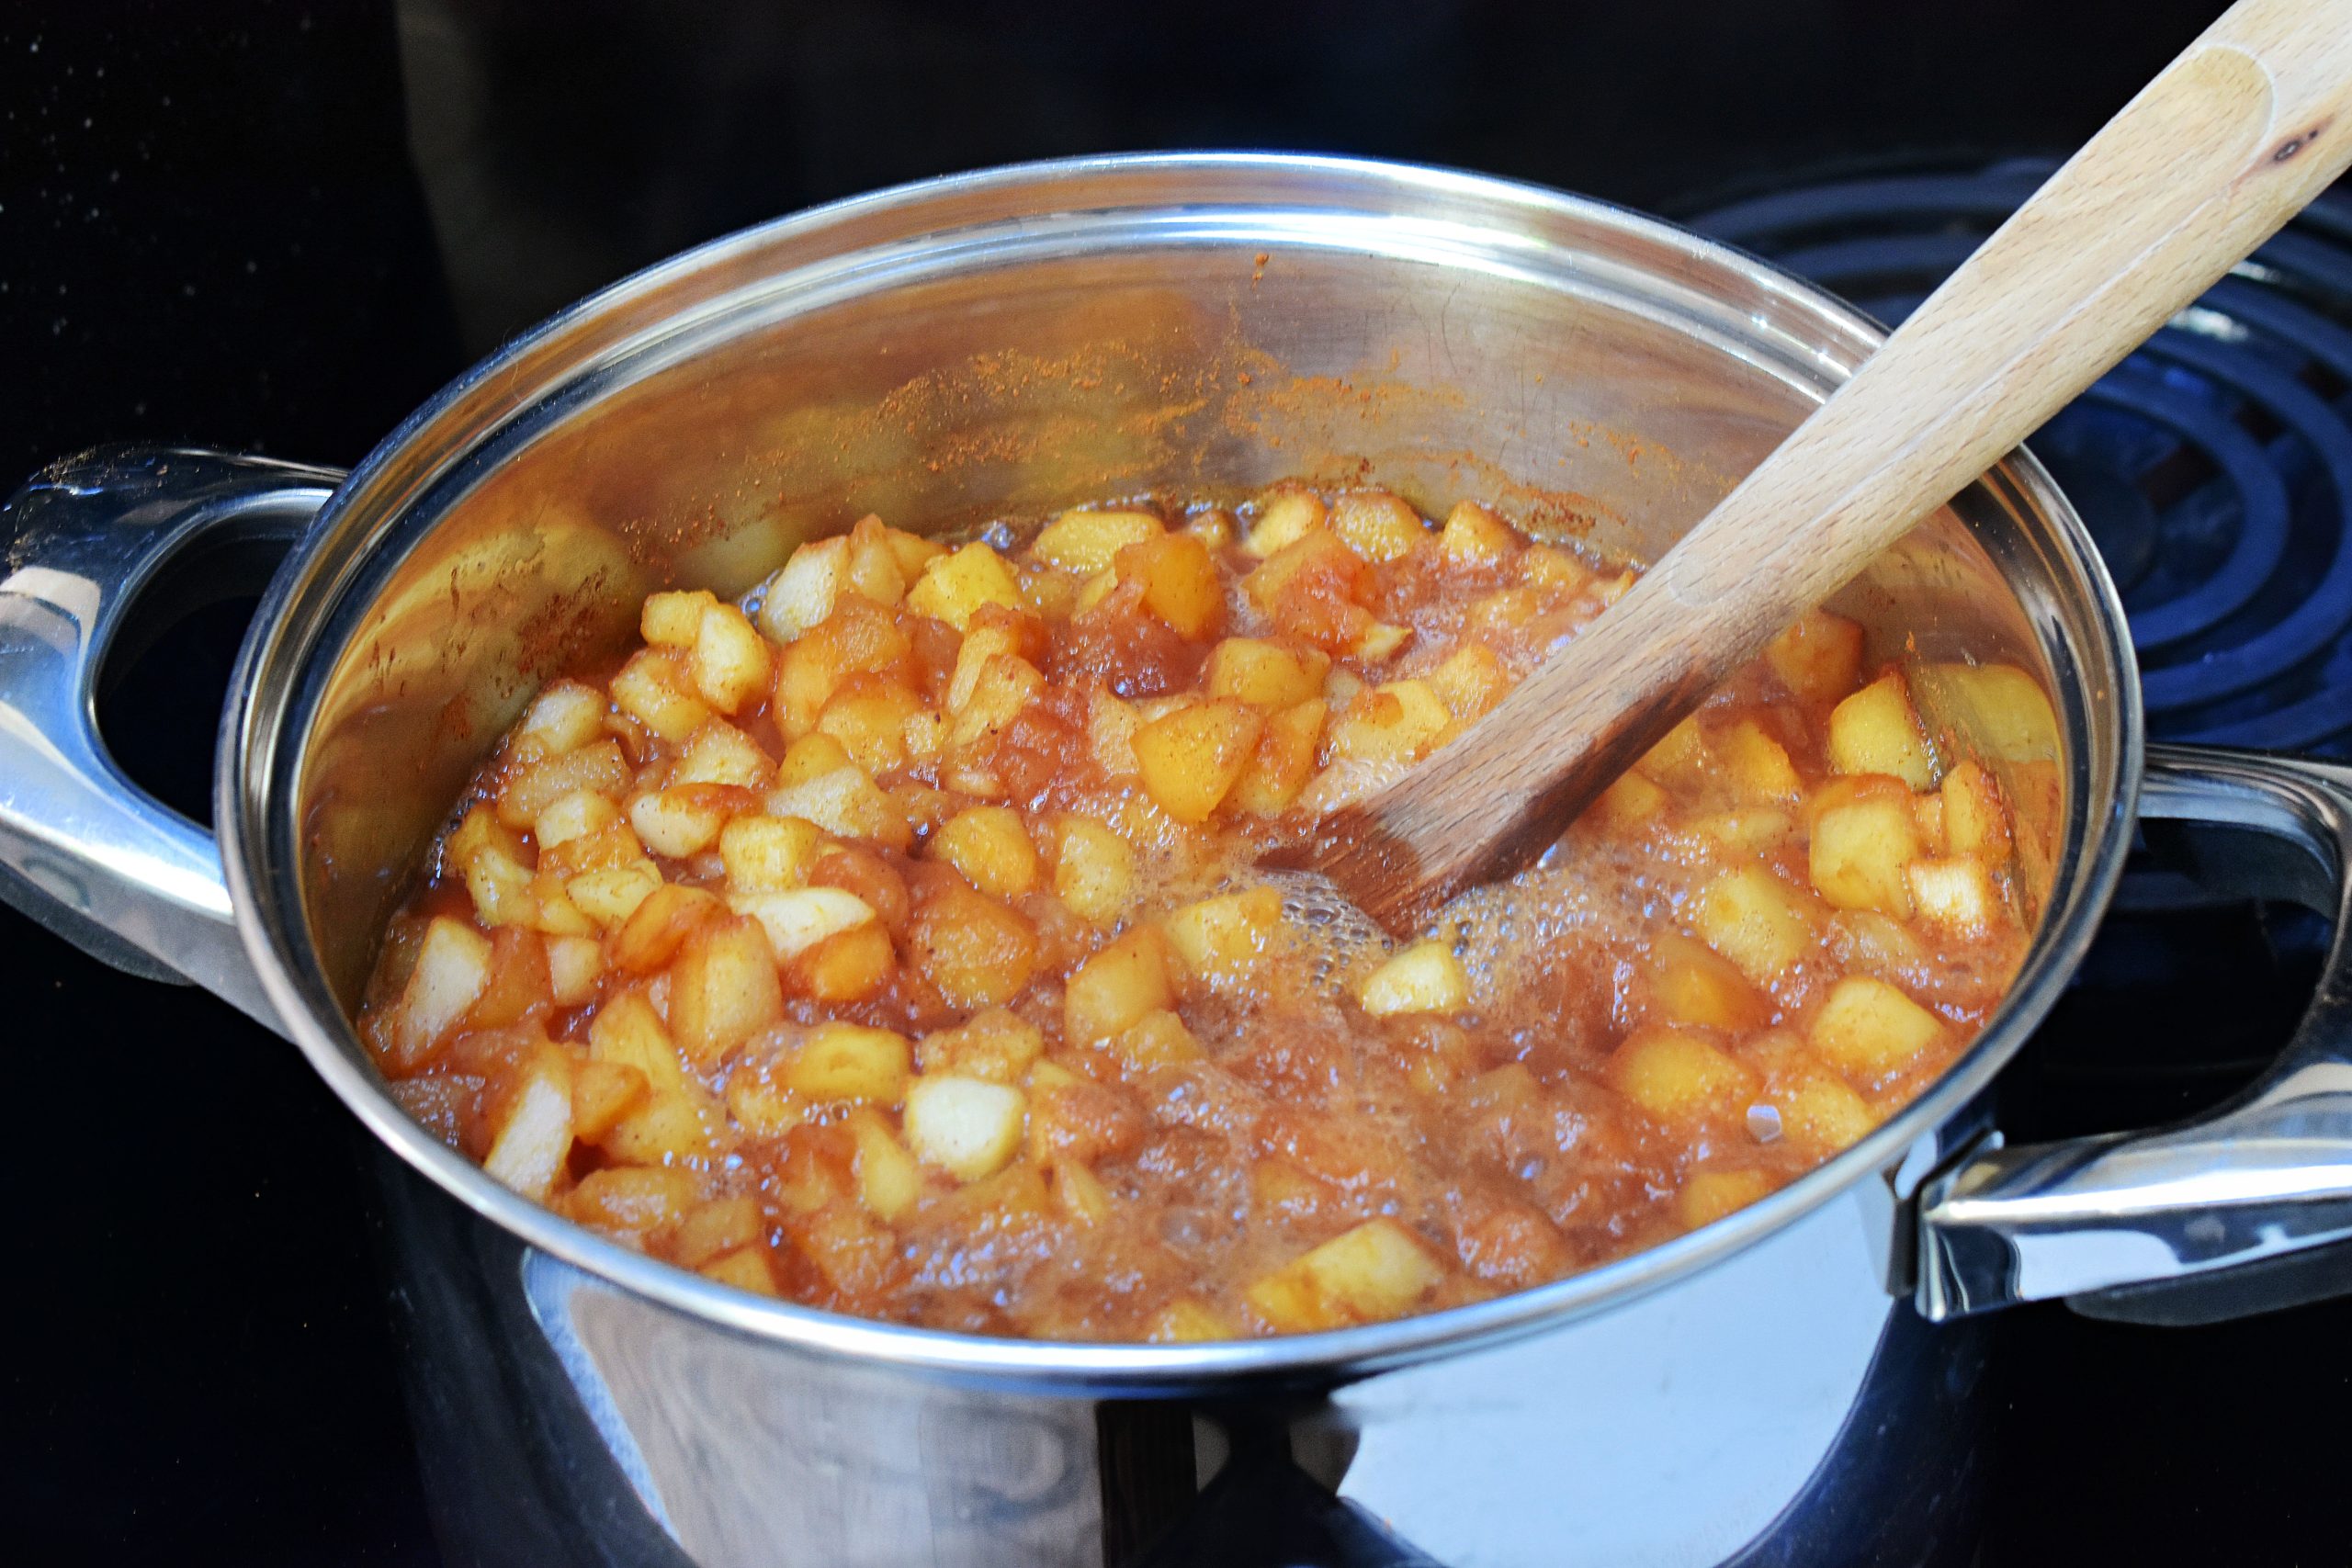
Dump the apple chunks and water into a large, stainless steel pot, then add 1/4 teaspoon ground ginger, 1/4 teaspoon ground nutmeg, and 1 1/2 teaspoons ground cinnamon. Add 2 tablespoons of bottled lemon juice and stir until well-combined. Bring the mixture to a boil over medium-high heat.
Once the mixture is boiling, turn the heat back down to medium and simmer for about 10 minutes, stirring occasionally, until apples are softened.
Adding Pectin & Sugar
Measure and combine the 4 cups of white sugar and 1 cup of brown sugar in a separate bowl and set aside.
Remove the pot of cooked apples from the heat and add the pouch of powdered pectin, stirring to combine. Turn the heat back up to medium and bring the mixture back up to a full rolling boil that can’t be stirred down. At this point, add the sugar and mix to combine. Stir constantly while the mixture comes back to a boil, and then boil hard for one minute.
Once the time is up, remove the pot from the heat, skim off any foam, and prepare for the canning process.
Canning & Storage
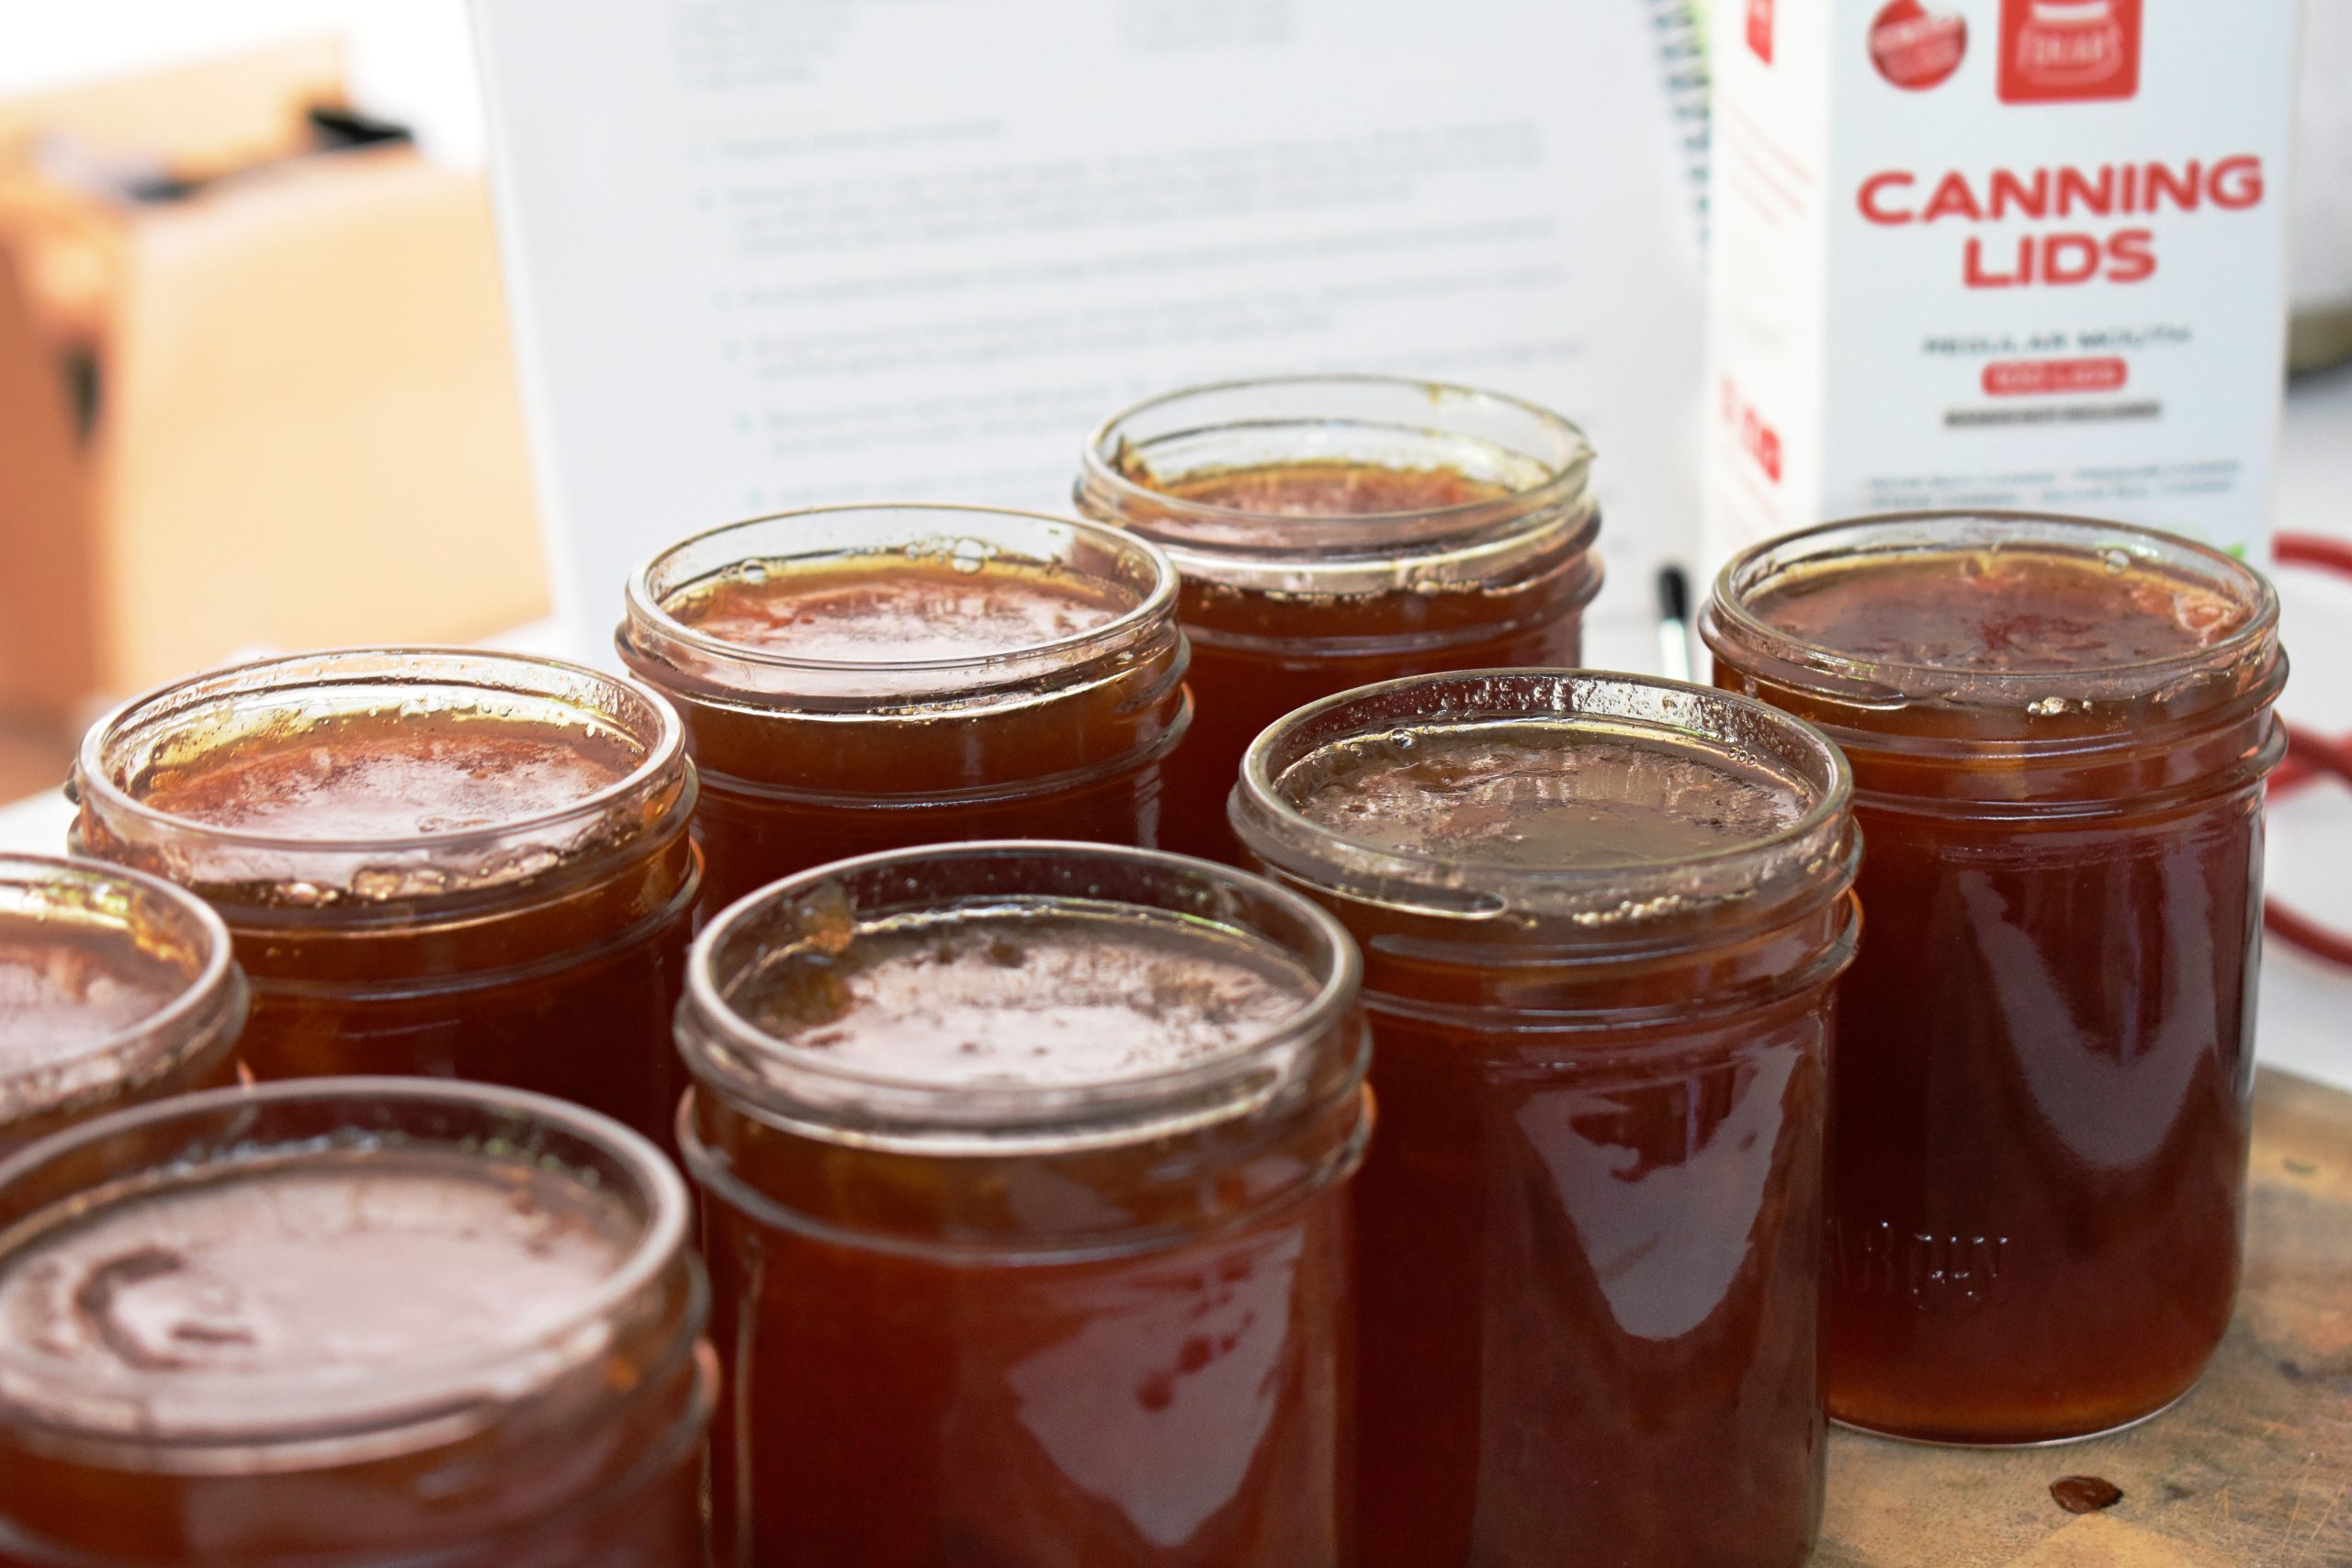
Using a set of jar lifters, remove the clean, hot jars from your water bath canner. Place them on a cutting board or tea towel and, working quickly, fill them with the hot jam, leaving 1/4-inch headspace. You might find it helpful to use a canning funnel while you do this.
Using a plastic or stainless steel knife or utensil, remove any trapped air bubbles, adjust the headspace if needed, and wipe rims of jars with a clean, damp cloth to remove any jam residue.
Apply brand new clean lids, and screw on the rings until fingertip tight.
Place jars back into your water bath canner, ensuring there’s at least 2 inches of water covering the tops of the jars, and put the lid on the canner. Bring the water to a full rolling boil.
Once the water is at a full rolling boil, stat your timer and process jam for 10 minutes. After processing time is up, turn the heat off, remove the lid from the water bath canner, and allow the jars to sit in the water for another 5 minutes. Remove the hot jars and let them cool completely. I usually leave them undisturbed on the counter for around 12 hours, or overnight.
Once jars are cooled, remove rings, double-check that all jars have sealed, and then store jars in a cool, dark place.

That’s it! You can enjoy this delicious apple pie jam recipe on your morning toast, as a filling in crepes or homemade doughnuts, mixed into yogurt or oatmeal, or straight out of the jar with a spoon… I won’t judge 😉
If you make this recipe, let me know how you like it! Leave a review and/or a comment down below and let me know what you think.
It’s definitely on the sweeter side, but it’s a delicious fall treat that gets the thumbs up from everyone in my family, so I put aside a few jars every year.
For a low-sugar version, I like using Pomona’s pectin. Here’s a recipe from Pomona’s for low-sugar apple pie jam, if you’d prefer a less sweet version.
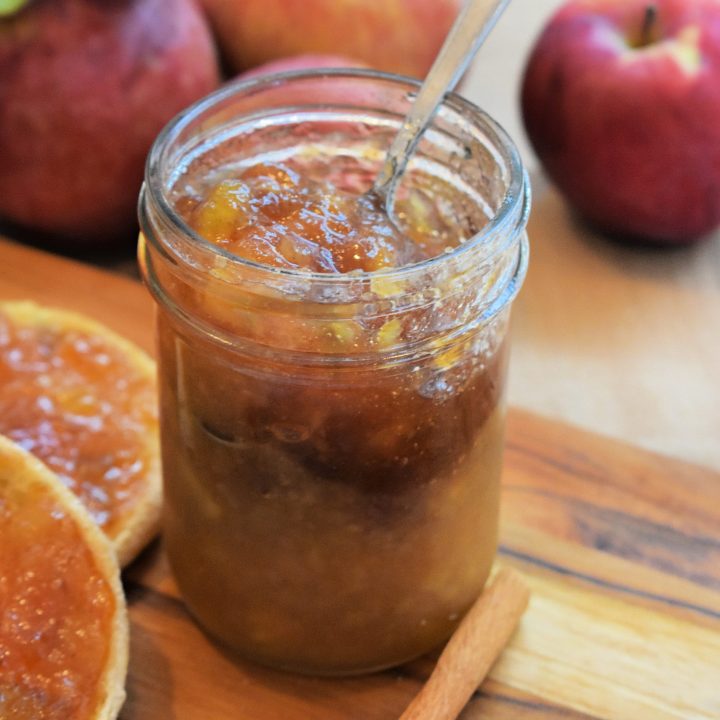
Apple Pie Jam Canning Recipe
Make homemade apple pie jam with this easy canning recipe! Capture the cozy flavors of fall in a delicious spread for your pantry.
Ingredients
- 4 cups apples peeled, cored & finely diced
- 2 tablespoons bottled lemon juice
- 1 ½ teaspoons ground cinnamon
- ¼ teaspoon ground ginger
- ¼ teaspoon ground nutmeg
- 1 pouch powdered pectin
- 4 cups white sugar
- 1 cup brown sugar
Instructions
- Prepare canner, jars and lids.
- Measure out 4 cups of diced apples. As you measure them out, fill the measuring cup with water so that the water just covers the apples. Do this all at once in a 4-cup measuring cup or repeat as needed if using a smaller measuring cup.
- Dump apples and water into a large, stainless steel pot and add lemon juice and spices.
- Bring mixture to a full rolling boil, stirring frequently. Reduce the heat to medium and boil gently for roughly 8-10 minutes until apples soften.
- Remove from heat and add pectin. Stir until dissolved. Place pot back on high heat and return to a boil, stirring frequently.
- Add both sugars at once and return to a full rolling boil that cannot be stirred down. Boil hard, stirring constantly for one minute.
- Remove from heat and skim off any foam. Ladle into hot jars, leaving 1⁄4-inch headspace.
- Remove air bubbles and adjust headspace as needed. Wipe rims, place lids on top, and screw rings on jars to fingertip tight.
- Place jars in canner and make sure they’re completely submerged in water before placing the canner lid on. Bring water to a boil and process for 10 minutes.
- After time is up, turn heat off, take the lid off the canner and allow jars to sit in hot water for another 5 minutes. Remove jars and let cool on the counter completely before storing in a cool, dark place.
Wanna learn how to can your own food?
Whether you’ve never canned anything before or you’ve done a little home canning and you’re ready to take the next step, my Yes, You CAN! complete home canning course will walk you through everything you need to know to get started canning food SAFELY at home.
Over the course of 12 easy-to-follow lessons, we cover both water bath canning and pressure canning, and I show you step-by-step how to can your own jams, jellies, pickles, pie fillings, fruits, vegetables, tomato sauce and chicken stock at home. And of course we’ll go over safe canning practices, equipment and over all best practices in more depth so that you always feel confident both during the canning process and while enjoying your home-canned food afterwards.
You’ll also get a collection of bonuses including:
-
Printable checklists and cheatsheets to help you stay safe and never miss a step while canning food at home
-
My bonus Jam and Jelly Making Mini-Course to help you make and can your own jams and jellies with store-bought pectin, no pectin and even low-sugar
-
A copy of my Home Canning Handbook, complete with 30 of my favourite home canning recipes for canning everything from fruits and vegetables to jams and jellies to sauces and salsa to stocks, soups, meats, combination meals and more!
If you’re ready to get started home canning (or canning more food than ever before this year!) enroll now and get started stocking your pantry!





0 Comments