


 If you like sauerkraut, then you’ve gotta try this recipe for easy homemade kimchi! Even if you’re not a fan of other fermented dishes, kimchi is in a league of its own. This staple of Korean cuisine has a unique, spicy kick and countless health benefits. With this recipe, you can make your own kimchi at home and experience its incredible flavour firsthand.
What is Kimchi?
Kimchi is a traditional Korean side dish made from fermented vegetables (most commonly napa cabbage), seasoned with Korean chili pepper, garlic, ginger, and other spices. It’s been a cornerstone of Korean cuisine for centuries, but today it’s enjoyed worldwide for its bold flavors and numerous health benefits. Kimchi isn’t just food—it’s a cultural icon in South Korea, where families often have specialized refrigerators solely for storing it. The fermentation process gives kimchi its tangy flavour, while also boosting its nutritional benefits with probiotics that promote gut health. Though it’s traditionally served as a side dish, kimchi is also a versatile ingredient in soups, stews, fried rice, eggs, and more.
Health Benefits of Kimchi
The fermentation process transforms humble vegetables like cabbage, carrots, and green onions into a flavourful side dish. Rich in lactic acid bacteria, kimchi supports gut health while delivering a spicy, tangy kick. This Korean food pairs perfectly with a variety of Korean dishes, from rice bowls to kimchi jjigae (a spicy stew). Personally, I like to enjoy a generous helping of homemade kimchi for breakfast along with my fried or scrambled eggs. It’s also delicious served with shredded pork tacos for a spicy Asian kick. Kimchi is also packed with vitamin C, probiotics, and antioxidants. Studies have shown that regularly eating fermented foods like kimchi may contribute to a healthier gut, a reduced waist circumference, and significant improvements in digestion. The good bacteria created during fermentation help crowd out bad bacteria, boosting immunity and promoting overall wellness.
Where to Source Kimchi Ingredients
While some Kimchi ingredients will need to be sourced either from specialty stores, the Asian food aisle at your local grocery store, or even online, all of the vegetables can be grown at home in most climates, or sourced from your local farmers market. Of course, you can always get them from the grocery store if need be. I always recommend choosing organic when possible for the overall health benefits, as well as the fact that organic ingredients are better for fermenting as there’s no possibility that pesticides or other chemical sprays will interfere with the fermentation process. Here’s what you’ll need:
- Napa Cabbage: Also called “Chinese cabbage,” napa cabbage is a cool-season crop that thrives in spring or fall gardens. Plant it early for a plentiful harvest.
- Carrots and Green Onions: Both are staples in home gardens and easy to grow in small spaces (or source locally).
- Garlic and Ginger: While ginger may be tricky to grow in cooler climates, garlic is a hardy crop that’s a must in home gardens. (Here’s a comprehensive guide on how to grow garlic at home).
- Korean Chili Flakes (Gochugaru): This might require a trip to a specialty Asian market or placing an online order, but it’s the ingredient that gives kimchi its authentic kick. Alternatively, you can grow your own chilies and grind them into flakes.
- Fish Sauce: Look for high-quality fish sauce at your local grocery store or an Asian market, or order fish sauce online.

How to Make Homemade Kimchi
Making homemade kimchi is surprisingly easy, and in my opinion, it’s tastier than anything I’ve ever found at the grocery store—and way cheaper too, especially if you grow your own vegetables! Here’s what you’ll need to make your own kimchi at home:
- 1 large or 2 small to medium heads of napa cabbage
- ¼ cup kosher salt or sea salt (I also like to use Redmond Real Salt in my fermented foods)
- 1 cup filtered water
- 2 large carrots, peeled and grated
- 1 bunch of spring onions or green onions, roughly chopped (save the white parts for the paste)
- 6 cloves of garlic
- 1 ½-inch piece of fresh ginger, peeled
- 2 tablespoons fish sauce (or substitute soy sauce for vegan kimchi)
- 1 teaspoon granulated sugar
- 3-6 tablespoons Korean chili flakes (gochugaru) or substitute Korean hot pepper paste (gochujang)
Step-by-Step Instructions

Step 1: Prepare the Cabbage
- Dissolve ¼ cup salt in 1 cup of filtered water to create a salty brine. Set aside.
- Rinse the cabbage under cold running water to remove any dirt. Peel off any damaged outer leaves and save one or two whole cabbage leaves for later.
- Cut the cabbage into quarters, remove the core, and chop the leaves into bite-size pieces.
- Place the cabbage pieces in a large bowl and sprinkle salt over them. Pour the salty brine over the top and mix well, ensuring all pieces are coated. Add enough water to submerge the cabbage fully.
- Cover the bowl and let the cabbage sit at room temperature for 3-4 hours, tossing occasionally.
Step 2: Make the Kimchi Paste
- Combine the garlic, ginger, scallion whites, fish sauce, sugar, and Korean chili flakes in a food processor. Blend until smooth to form the kimchi paste.
Step 3: Assemble the Kimchi
- Drain the cabbage in a colander and rinse under cold running water to remove excess salt. Squeeze out any excess water and return the cabbage to the bowl.
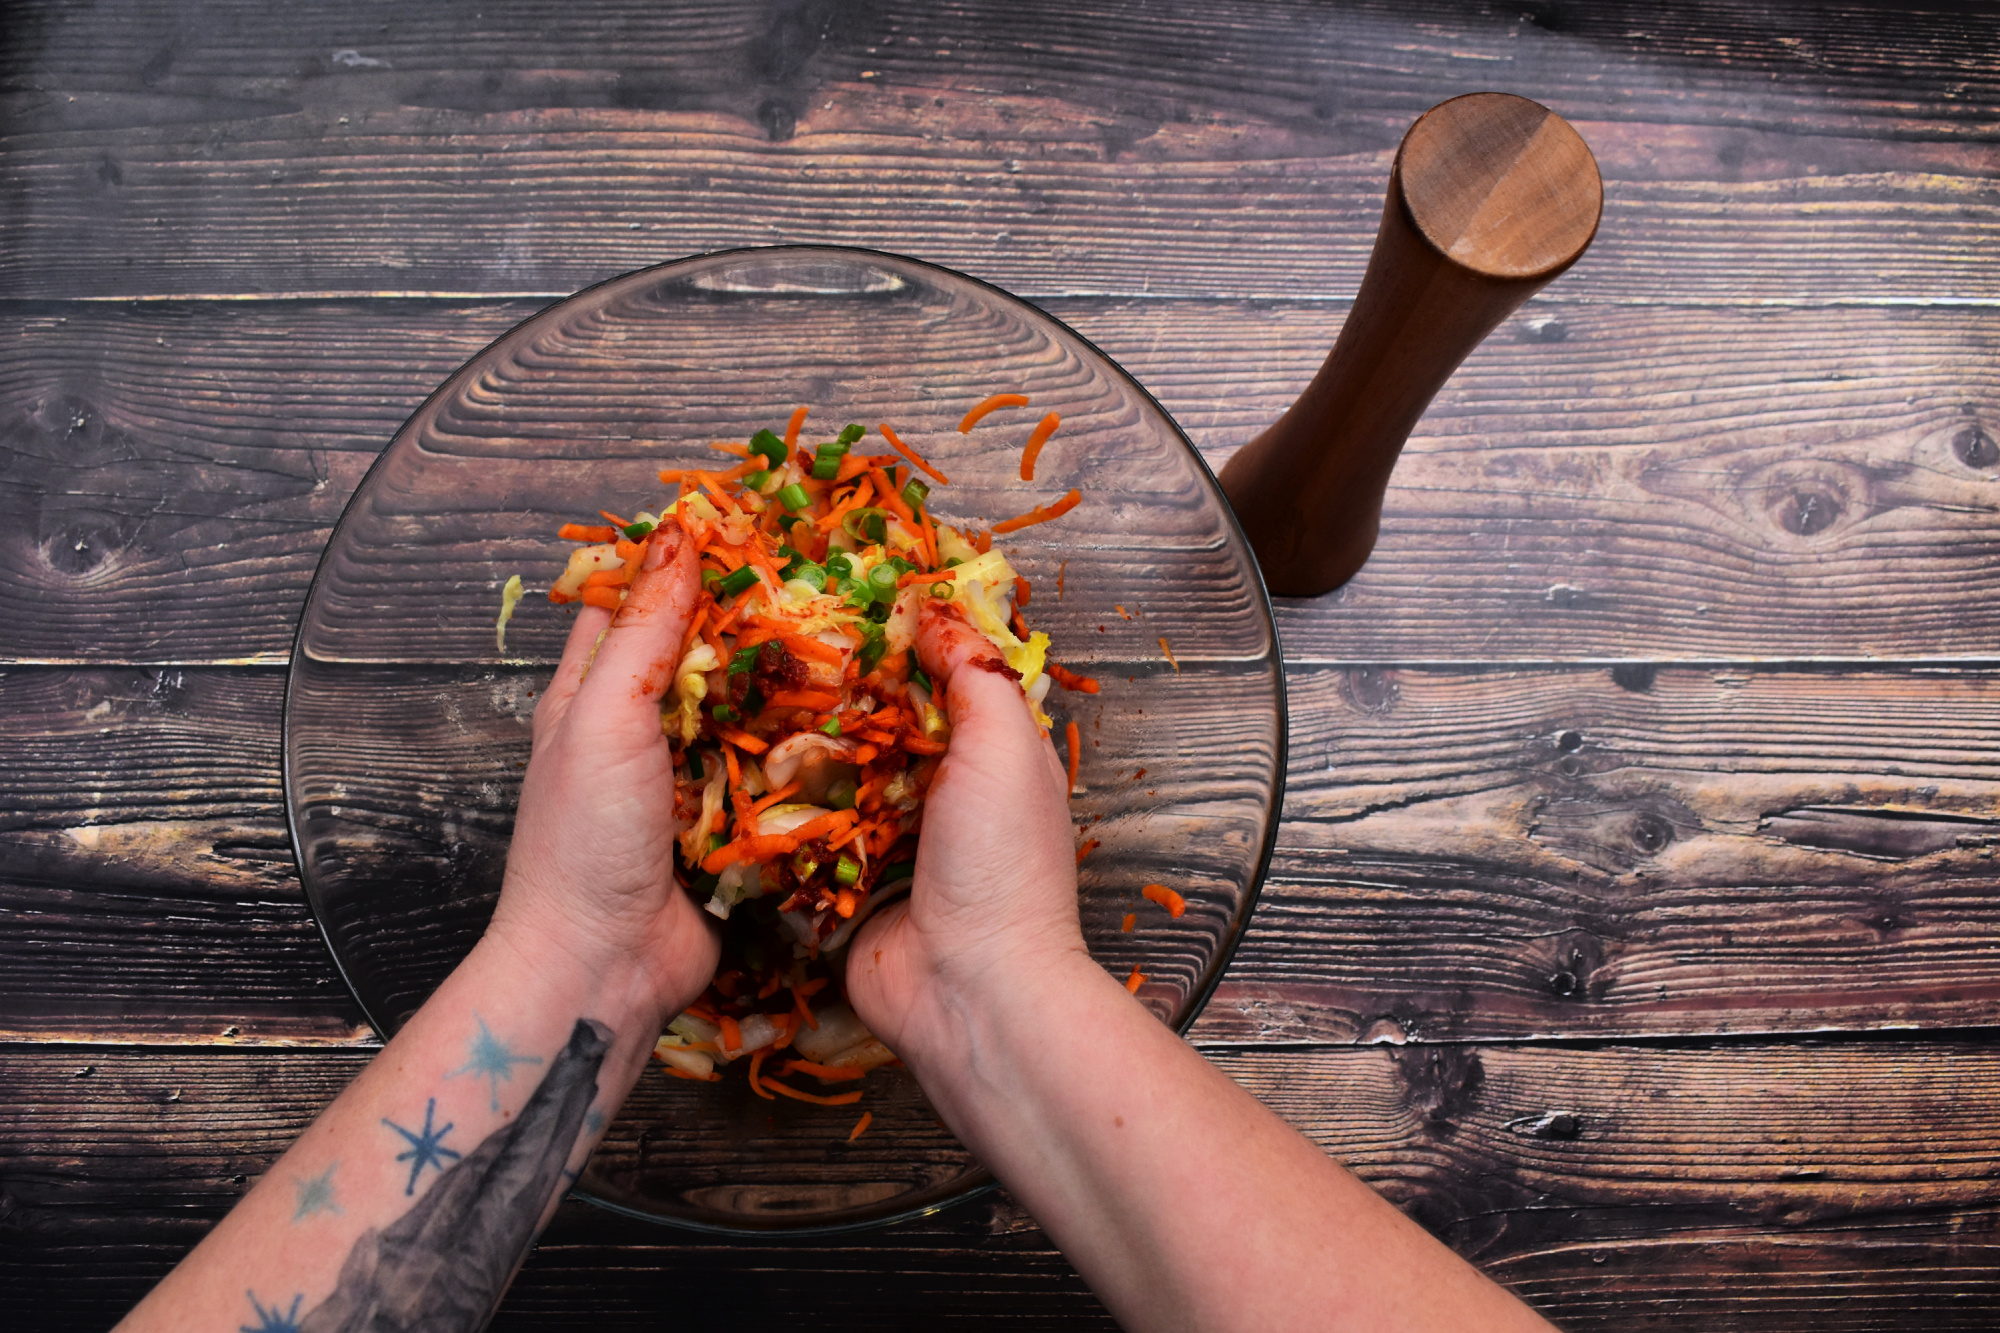
- Add the grated carrots, chopped green onions, and kimchi paste to the bowl. Mix everything thoroughly, massaging the paste into the vegetables with your hands (you can wear gloves to avoid irritation from the chili paste, although I’ve never had a problem using my bare hands as these chili flakes are fairly mild).
- Pack the mixture tightly into a quart-sized Mason jar, leaving 1-2 inches of headspace. I like to use the pickle packer from my MasonTops complete fermentation kit to pack my kimchi into jars. This works great for sauerkraut too!
- Place a reserved whole cabbage leaf on top of the mixture to help keep it submerged beneath the brine. I also like to use the MasonTops pickle pebbles (glass weights) to help keep all of my ferments submerged beneath the brine. It’s important to keep everything submerged as anything sticking up above the brine may go moldy and spoil.

Step 4: Ferment the Kimchi
- Seal the jars loosely or cover with a coffee filter secured with an elastic band to allow air to escape. If using an airtight lid, remember to “burp” the jar daily to release air bubbles (CO2). Again, I love using the pickle pipes that come with my MasonTops complete fermentation kit; this kit comes with 4 pickle pipes, 4 pickle pebbles, and one pickle packer. The beauty of the pickle pipes is that you don’t have to “burp” the jars. Any excess CO2 will be released on its own while also not allowing any dust particles or debris into the jar.
- Let the kimchi ferment at room temperature for 3-7 days. I like to place it on top of a plate just in case of any spillover (the chili paste can stain!). Taste it every couple of days until it reaches your desired flavour.
- Once you’re satisfied with the taste, transfer the jars to the fridge or to a cool storage area to slow the fermentation process. Your well-fermented kimchi will continue to develop flavour and can last for up to 6 months in the fridge or in cold storage.

Tips for Success
- Use fresh, organic ingredients for the best results.
- Adjust the spice level to suit your own tastes by using more or fewer Korean chili flakes.
- Experiment with additional ingredients like shredded daikon radish, sesame oil, or shrimp paste to customize the flavour.
The Many Benefits of Homemade Kimchi
Making your own kimchi is a rewarding experience that allows you to reap the health benefits of kimchi while enjoying the delicious flavour of this authentic Korean dish. Whether you’re trying your first batch or perfecting your technique, homemade kimchi is a delicious and nutritious addition to any meal. Next time you’re craving a jar of kimchi, skip the store and try this easy homemade kimchi recipe instead!
P.S. If you’re ready to jump-start your home fermentation journey, head over to Cultures For Health for everything you need. From cheesemaking kits to kombucha scobys to sourdough starters and more, they have you covered. Use code HOMESTEAD10 for 10% off your order!

Easy Homemade Kimchi Recipe
Learn how to make easy homemade kimchi with this simple recipe. Perfect for beginners, this guide offers step-by-step instructions to create delicious, fermented kimchi at home.
Ingredients
- 1 large or 2 small to medium Napa cabbages (you can substitute Savoy cabbage if Napa cabbage is not available)
- 1⁄4 cup salt
- 1 cup filtered water
- 2 large carrots, grated
- 1 bunch of scallions, roughly chopped (save the white base of stalks)
- 6 cloves of garlic
- 1 1⁄2 inch piece of fresh ginger, peeled
- 2 tablespoons fish sauce
- 1 tsp granulated sugar
- 3-6 tablespoons Korean chili powder (gochugaru) or Korean hot pepper paste
Instructions
Prepare the Cabbage
- Dissolve salt in 1 cup of filtered water. Set aside
- Rinse cabbage(s) and remove any damaged outer leaves. (Save one or two good outer
leaves for the end). Slice cabbage head(s) in half or in quarters and remove the cores, then
cut cabbage leaves into bite-size pieces. - Place the cabbage in a large glass or ceramic mixing bowl and pour salt water over top. Mix
well, making sure all pieces are well coated in the salty water. - Press the cabbage down and add a little cool water if needed to make sure cabbage is
submerged. Cover bowl and let sit for about 3 to 4 hours.
Make the Chili Paste
- Put garlic, ginger, scallion whites, fish sauce, sugar and chill powder (gochugaru) in a food processor and blend into a fine paste. (The amount of chili flakes used will depend on how spicy you like your kimchi). Set mixture aside.
Make the Kimchi
- Drain cabbage in a colander, rinse and squeeze out excess water. Return cabbage to mixing bowl and add grated carrot, chopped scallions and chili paste.
- Mix well to make sure everything is well coated. (Hands work great for this because it allows you to massage the paste into the ingredients but you may want to wear gloves just in case as the child powder/paste can be a bit hot).
- Tightly pack kimchi into a glass jar/jars, leaving 1 to 2 inches of headspace. Cover with the saved cabbage leaf/leaves and press down to cover the kimchi with liquid while it ferments.
- Place a lid on top or cover with a coffee filter and secure with an elastic band. If using a lid
that does not allow any air to escape, remember to burp your jar(s) once a day to release
any built up CO2. - Allow kimchi to ferment at room temperature for a minimum of 3 to 5 days and up to 2
weeks. (I tend to like the flavour after around 7 to 10 days, but you can taste it every few
days until you’re happy with the flavour). - When you’re happy with the flavour, transfer your jar(s) to the fridge or to cold storage (like a basement or root cellar) to slow down the fermentation process. Kimchi will store in the fridge or cold storage for up to 6 months or so on average before the quality starts to degrade. The flavour will intensify the longer it sits.






0 Comments