


 When most people think of pickles, they picture jars of vinegar-drenched cucumbers lining grocery store shelves. But long before brands like Bick’s became household names, people were making homemade pickles the old-fashioned way—by fermenting them.
Fermented dill pickles are crisp, tangy, garlicky, and super flavourful in a way store-bought pickles can’t match. Better yet, these lacto-fermented pickles are packed with probiotics and beneficial bacteria that support gut health, which is thought to support your immune system and overall health, so these probiotic pickles are definitely something you’ll want on your shelves this coming winter when we once again head into the dreaded “cold and flu season.”
This easy recipe has been in my family for generations. My great-grandmother passed the recipe to my mom, who made them every summer when I was a kid. At first, I was horrified when I grew up and realized my mom wasn’t “canning” the pickles properly. She didn’t use vinegar or process them in a water bath canner—and as a new canner with a paralyzing fear of botulism (no pun intended), that sounded dangerous to me.
But then I learned how fermentation works… Instead of relying on vinegar, fermented pickles preserve themselves naturally with just salt and water. The salt keeps bad bacteria from forming, while the good Lactobacillus bacteria convert the natural sugars in the cucumbers into lactic acid, which preserves the cucumbers (in pickle form) and adds a tangy, vinegar flavour. So while we’re not adding vinegar, we’re actually creating a vinegar brine through the fermentation process. Vinegar is, after all, a product of fermentation itself.
In the end, these pickles are not only completely safe, but the good, probiotic bacteria make fermented pickles even healthier for you than their vinegar-based cousins.
Today, I make these garlicky, tangy pickles every summer, just like my mom.
Fermented dill pickles tend to last around three to six months in the fridge or cold storage before they begin to degrade and get a bit mushy and the brine gets a bit too sour. They’ll still be perfectly safe to eat long after that, but the texture and quality might not be as good after six months or so. Canned dill pickles are shelf-stable and last, on average, one to two years on pantry shelves before they start to get a bit mushy too. While these fermented pickles may not last as long as vinegar pickles, their flavour and health benefits more than make up for it. I store ours out in my husband’s “beer fridge” in his shop since I don’t have a root cellar and I don’t want to take up too much space in our fridge But if you ask me, it’s worth keeping a second fridge just to store them—yes, they’re that good!
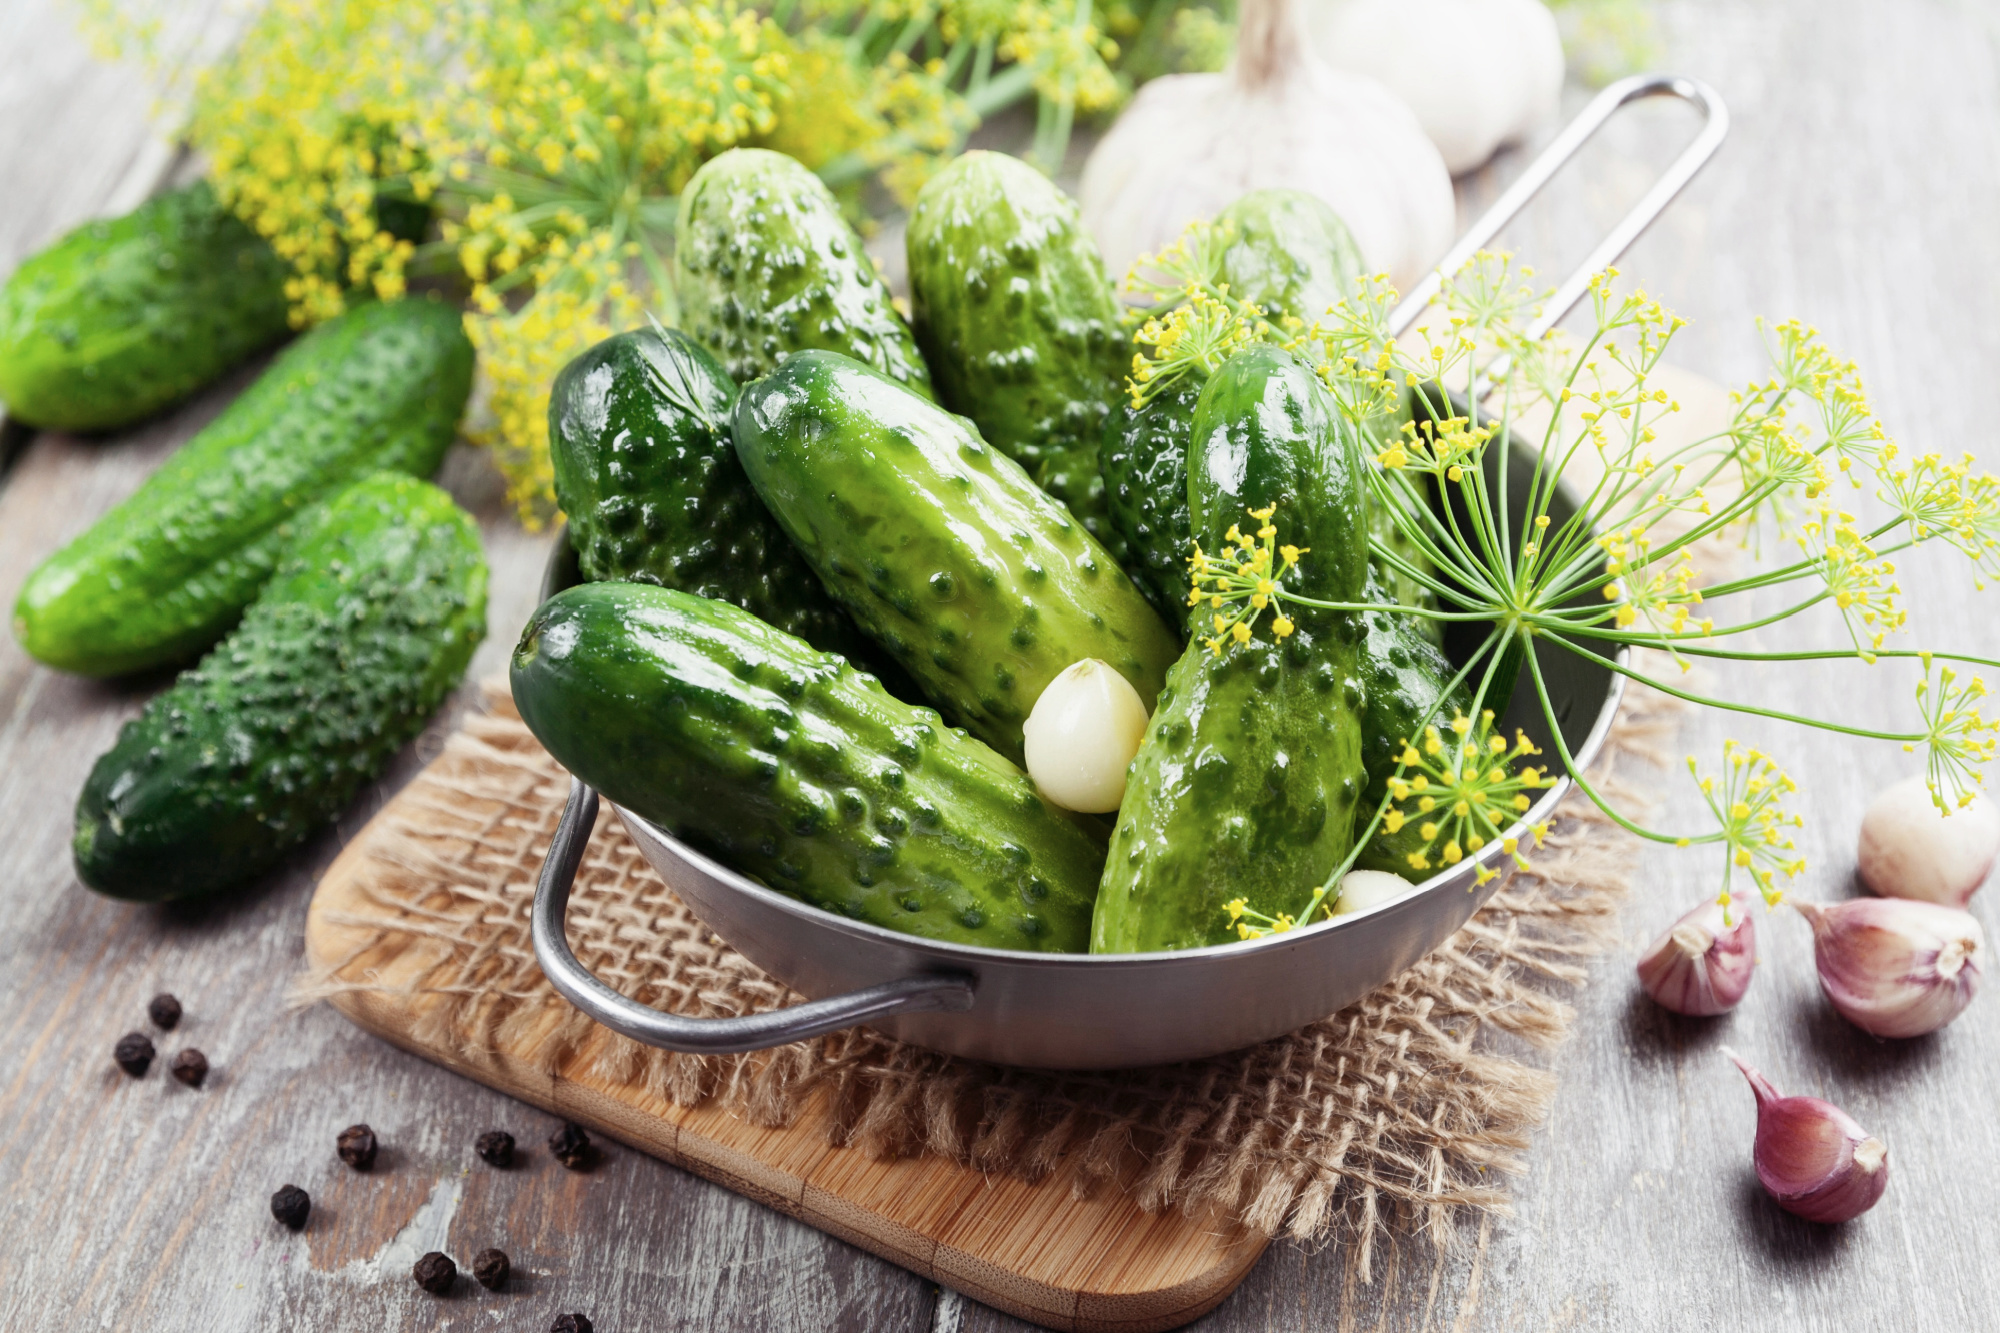
What You Need to Make Fermented Dill Pickles
The beauty of this pickle recipe is its simplicity. You only need three core ingredients: pickling cucumbers, pure salt, and filtered water. Everything else—garlic cloves, dill, hot peppers, pickling spice, grape leaves—is optional and customizable.
Here’s a breakdown of the essentials:
Cucumbers
-
Always use pickling cucumbers (not slicing cucumbers).
-
Choose small cucumbers that are freshly picked and still firm for the crispiest results.
- Be sure to choose organic cucumbers that are free from herbicides and pesticides, as these chemicals can interfere with the fermentation process.
-
Remove the blossom end—it contains enzymes that soften pickles too quickly.
-
If not pickling right away, store cucumbers in ice water or place the in the fridge with a cold, wet towel over them to keep them fresh.
Water
-
Use only filtered or non-chlorinated water.
-
Chlorine can kill the beneficial bacteria needed for fermentation.
Salt
-
Use pure salt with no iodine or anti-caking agents.
-
Avoid iodized table salt, which disrupts the fermentation process.
-
Good options: sea salt, Himalayan salt, pickling salt, kosher salt.
-
I personally love Redmond Real Salt for its flavour and purity.
Optional Add-Ins
-
Garlic cloves – essential in my opinion for bold, garlicky pickles.
-
Fresh dill (weed or flowers/dill seeds) – a must for dill pickles!
-
Pickling spice – adds warmth and complexity.
-
Hot peppers or red pepper flakes – for a spicy kick.
-
Grape leaves or black tea leaves – their tannins help keep pickles crisp.
The Right Salt-to-Water Ratio
The standard vegetable brine calls for 1–3 tablespoons of salt per quart (4 cups) of water.
-
I recommend 2 tablespoons per quart for the perfect balance of flavour and crunch.
-
Too little salt risks soft pickles and bad bacteria growth. Too much salt can slow fermentation.
Step-by-Step Recipe: Fermented Dill Pickles
This method is flexible and forgiving. Adjust amounts based on the size of your jars and your taste preferences.
Ingredients (per quart jar)
-
6–8 small pickling cucumbers (approximately)
-
2 tablespoons pure salt
-
4 cups filtered water
-
1 tablespoon pickling spice
-
1 dill flower or small handful of dill weed
-
1 garlic clove (or more if you love garlic)
-
1 small hot pepper or ¼ teaspoon red pepper flakes (optional)
-
1 grape leaf or ¼ teaspoon black tea leaves (optional)
Directions
-
Prepare cucumbers. Wash well, scrub off dirt, and slice off the blossom ends. Leave small ones whole, cut larger ones into spears, halves, or rounds.
-
Pack the jars. Place dill, garlic cloves, pickling spice, and hot peppers in the bottom of your Mason jar. Pack cucumbers in tightly so they don’t float to the top of the jar.
-
Make the brine. Dissolve 2 tablespoons salt in 4 cups filtered water. Pour this saltwater brine into the jars, covering cucumbers completely. Add more brine if needed.
-
Add grape or tea leaves. Place them on top of the cucumbers to help keep everything submerged. The tannins in grape leaves also help to keep the pickles crisp. We have a grapevine, so I add grape leaves, but if you don’t have your own grapevine, feel free to skip this step.
-
Weigh down the contents. Use a fermentation weight, small jar, or even a clean rock (sanitized in hot water first) to keep cucumbers under the brine.
-
Cover the jar. Use a loose lid, fermentation lid, or even a coffee filter secured with an elastic band. You want the pickles to breathe but you also want to keep bugs and debris out. If using a lid with no way for air to escape, you might want to “burp” the jars daily to release the built-up carbon dioxide. (One of the reasons my mom’s pickles are so good is that she screws her lids on tightly, which causes carbon dioxide to build up and makes the pickles extra tangy and almost “bubbly.” But the brine often leaks out of the jars a bit because of the added pressure inside, so beware that this could happen, or in rare cases, the built up carbon dioxide could cause jars to burst or explode).
-
Ferment. Leave the quart jars at room temperature out of direct sunlight for 7–10 days (or up to 4–5 weeks). Taste every few days until you’re happy with the flavour. (The warmer it is, the quicker your pickles will ferment).
-
Store. Once you’re happy with the flavour, move jars to the fridge, root cellar, or cold storage. Pickles will keep for 3–4 months on average (and up to 6 months or so) before the quality starts to degrade.
Our Family Tradition
For me, fermented pickles are more than just food—they’re a connection to my heritage. This is how my ancestors made pickles back in the “old country” (Ukraine) long before they came to Canada. My great-grandmother made them as a first generation immigrant, my mom carried on the tradition, and now I make them for my own family.
It’s become a summer tradition, much like making perogies is a winter tradition for our family. I’m currently teaching my daughter how to make them too, and I only hope she’ll continue the tradition in her kitchen with her family someday. That’s the beauty of food, and how it connects us together, not only around the dinner table, but across generations too.
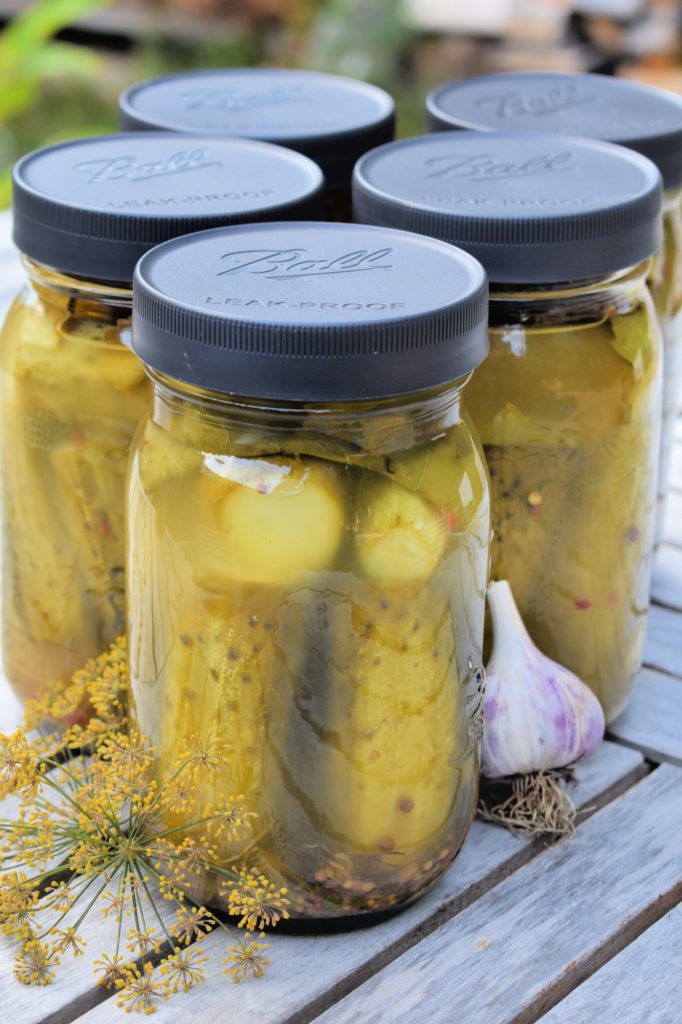
FAQ
What’s the difference between fermented pickles and vinegar pickles?
-
Vinegar pickles – These are processed in a water bath canner and use vinegar as the preservative. They’re shelf-stable but lack probiotics and often have a sharper, less complex flavour. I do still make vinegar-base canned pickles because I like having some pickles that are shelf-stable. Plus, I actually prefer the flavour of vinegar pickles for things like burgers and sandwiches.
-
Fermented pickles – These rely on a saltwater brine and natural fermentation. They aren’t canned, so they must be kept in cold storage (like the fridge or a cool place such as a root cellar). The flavour is more complex and they’re full of gut-healthy bacteria. I prefer these pickles on a platter or cheese board, or just to snack on on their own. The brine is also delicious, super healthy for your gut, and tastes great added to a Caesar or Bloody Mary cocktail!
How does fermentation work?
The fermentation process uses a saltwater brine to encourage good bacteria while preventing harmful microbes. Over time, cucumbers turn into tangy, crisp lacto-fermented pickles—without the need for vinegar or iodized table salt.
What type of jars should I use to make fermented pickles?
Mason jars work great for fermenting. Quart jars work perfectly for small batches, while half-gallon or gallon jars are great for larger amounts. If using a Mason jar, consider using a fermentation lid or a loose cover to let gases escape during fermentation.
Stoneware/ceramic fermentation crocks are another good option, or you can even ferment pickles in small wooden crocks like they used to do in the old days!
How much salt should I use for homemade pickles?
The ideal salt level is 1–3 tablespoons of pure salt per quart of water (I recommend 2 tablespoons per quart as a happy medium. Avoid iodized table salt, which can interfere with the fermentation process. I highly recommend Redmond Real Salt for fermenting: It’s free of additives and impurities and the flavour can’ be beat!
How do you keep fermented pickles crisp?
To keep your homemade pickles crisp and crunchy, remove the blossom end of cucumbers, keep them submerged under the brine, and place grape leaves (or black tea leaves) on the top of the jar. Store your jars in a cool place during fermentation to help maintain a crisp texture.
Do fermented pickles need special equipment?
Not necessarily. While you can use a Mason jar and a loose lid, a fermentation lid and weight make the process easier. These tools help keep cucumbers submerged and prevent mold, and they’re very inexpensive and easy to store.
How long do lacto-fermented pickles last?
Once fermented to your liking, transfer jars to cold storage. Kept in a fridge or cool place like a root cellar, lacto-fermented pickles last an average of 3–4 months (and up to about 6 months) before they begin to soften.
Why you need these fermented pickles in your life
Making fermented dill pickles is a simple, rewarding process that connects us to a centuries-old tradition. With just cucumbers, salt, and water, you can create jars of probiotic-rich pickles that taste better than anything on the store shelf.
They’re not only a delicious way to preserve cucumber from your garden or from the farmers market while they’re in season, they’re also incredibly healthy for you and are a welcome addition to your winter diet as they boost gut health and immunity, keeping you healthy and strong throughout cold and flu season.
Whether you’re new to fermentation or carrying on a family recipe like I am, once you taste the difference, you’ll be hooked. So grab some cucumbers, a Mason jar, and a handful of salt, and preserve those cucumbers while they’re in season and abundant! In a few moths, you’ll be glad you did:)
P.S. If you’re ready to jump-start your home fermentation journey, head over to Cultures For Health for everything you need. From cheesemaking kits to kombucha scobys to sourdough starters and more, they have you covered. Use code HOMESTEAD10 for 10% off your order!
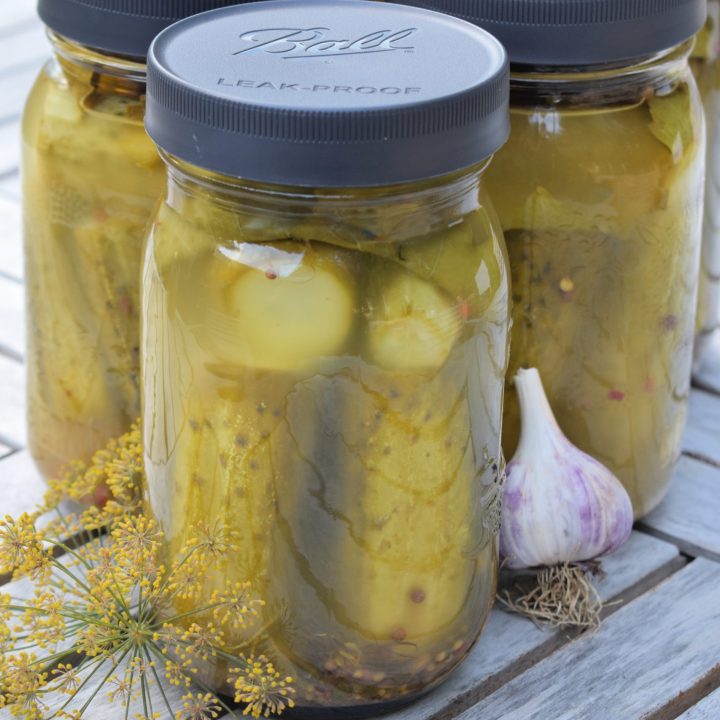
How to Make Fermented Dill Pickles (The Old-Fashioned Way)
These old-fashioned fermented dill pickles are crisp, tangy, and full of probiotic goodness. Made with cucumbers, garlic, fresh dill, spices, and a simple saltwater brine, they’re a delicious way to preserve the summer harvest without vinegar or canning. Naturally fermented pickles are easy to make, packed with flavor, and support gut health with every crunchy bite.
Ingredients
- 6-8 Pickling cucumbers
- 2 tablespoons pure salt
- 4 cups filtered water
- 1 dill flower (or 1 small handful of dill weed)
- 1 tablespoon pickling spice
- 1 large garlic clove
- 1 small hot pepper (or ¼ teaspoon hot pepper flakes)
- 1-2 grape leaves or ¼ teaspoon black tea leaves (optional)
Instructions
- Prepare the cucumbers and jar – Wash your quart-sized Mason jar well. Scrub the cucumbers to remove any dirt, then slice off the blossom end (or both ends if you prefer). Leave small cucumbers whole, or cut larger ones into spears, slices, or rounds.
- Add seasonings – Place the pickling spice, dill, garlic clove, and hot pepper (or pepper flakes) into the bottom of the jar. Adding them first helps keep the herbs and spices from floating to the top.
- Pack in cucumbers – Tightly pack the cucumbers into the jar, leaving about 1 inch of headspace at the top. A snug pack will help prevent them from floating once the brine is added.
- Make the brine – In a measuring cup, dissolve 2 tablespoons of salt in 4 cups of water to make a saltwater brine. Pour the brine over the cucumbers until they are completely submerged. Add extra brine if needed to cover everything.
- Add optional tannins – If using grape leaves or black tea leaves, tuck them into the jar with the cucumbers. These help keep the pickles crisp. Additionally, grape leaves placed over top of your pickles help keep them submerged beneath the brine.
- Weigh down the cucumbers – Place a fermentation weight (I use these pickle pebbles) on top of the cucumbers to keep them beneath the brine. Cover the jar with a fermentation lid, a loose Mason jar lid, or a coffee filter secured with a rubber band. If using a regular lid, remember to “burp” the jar daily to release carbon dioxide.
- Ferment – Leave the jar at room temperature, out of direct sunlight, to ferment for 7–10 days. Taste every couple of days after day 3 to find your preferred flavor. Fermentation can take as little as 3 days or up to 4–5 weeks depending on your taste and environment.
- Store – Once you're happy with the flavour, transfer the jar to the refrigerator (or another cool place like a root cellar) to slow fermentation. Enjoy within 3–4 months for best quality.





Making a crock of these pickles now. Quick question? I went out to cut grape leaves and noticed bug bites in them. I have them soaking in ice water. Can they still be used? Thanks, Sue
Hi Sue – I double checked with Anna and she said they’re ok as long as they’re clean 🙂 enjoy! -Ashley (Assistant)
Finally, a dill ferment recipe that isn’t using vinegar. Thank you for the right method!!
Plus you water canning “recipe” is very important for homesteads. Good one!!