


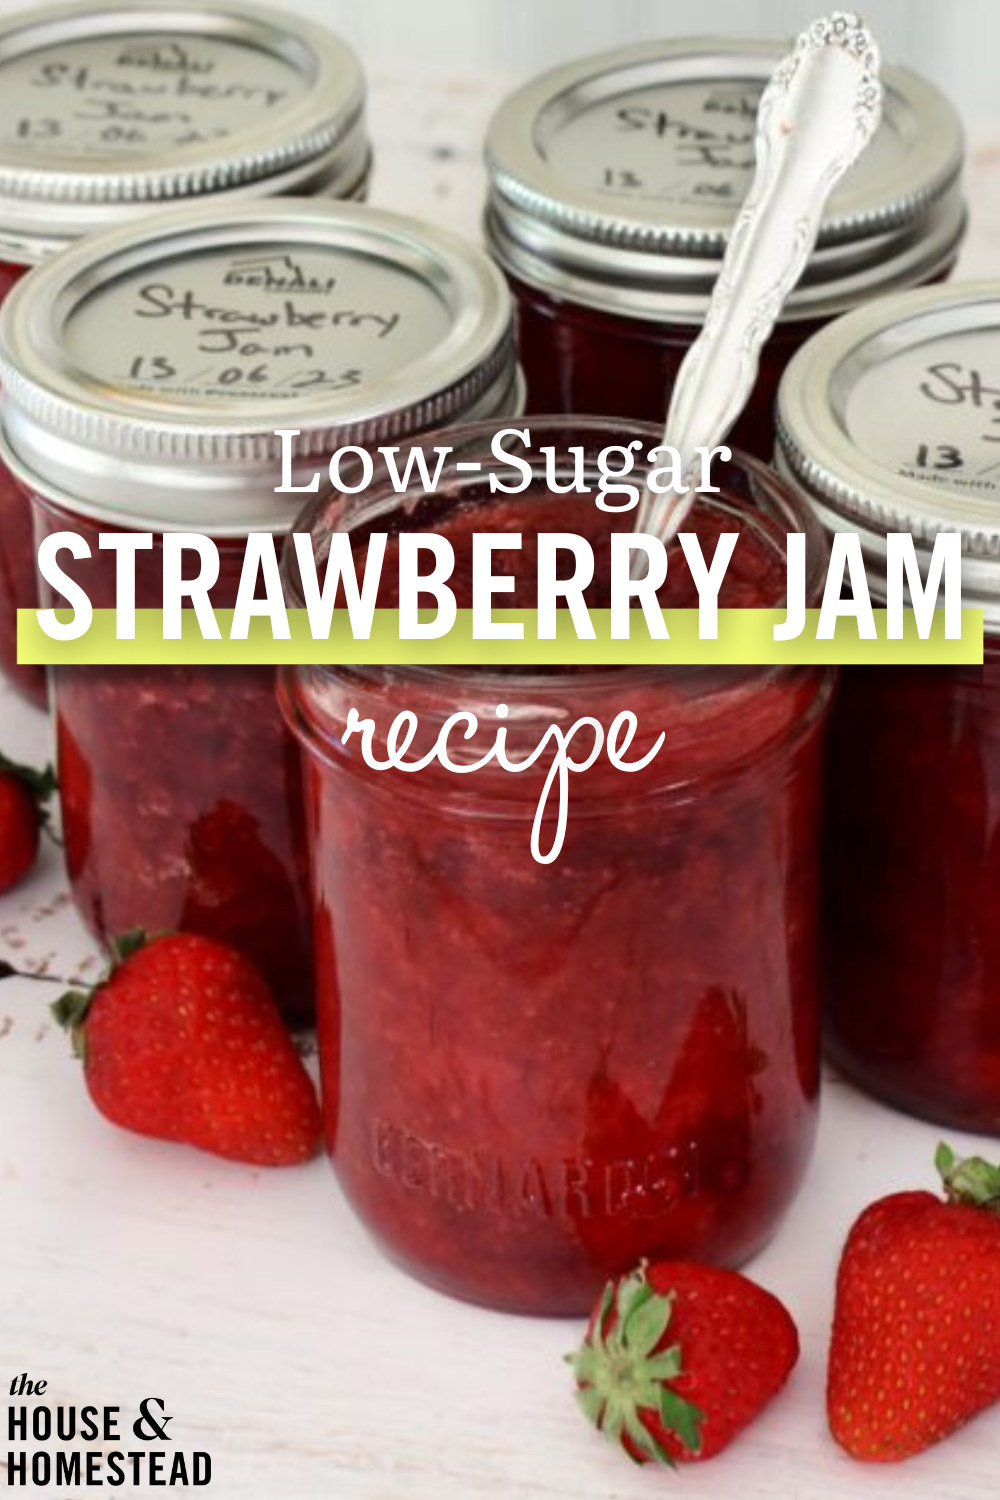
 This low-sugar strawberry jam recipe is made with Pomona’s pectin and preserves the bright, fresh summer strawberry flavor all year long (without the insane amount of sugar!) Once you try this great recipe, you may never go back to traditional jam recipes laden with sugar again!
* * *
The very first homemade jam I ever made was a classic strawberry jam with standard, store-bought pectin powder. It called for 5 cups of strawberries and 7 –yes, SEVEN– cups of sugar.
I had just started learning how to can food and jam was an easy beginner project. But I couldn’t get over the fact that there was more sugar than actual fruit in so many regular jam recipes!
I quickly switched to pectin-free strawberry jam, which called for 8 cups of strawberries and 6 cups of sugar. Still not great, but at least there were more strawberries than sugar and it eliminated the need for store-bought pectin. This was my go-to homemade strawberry jam recipe for years. It was (and still is) delicious! I especially like it with a little bit of vanilla mixed in since it’s reminiscent of a strawberry sundae. But everything changed the first time I tried making low-sugar strawberry jam with Pomona’s pectin.
This low-sugar strawberry jam recipe calls for 4 cups of mashed strawberries (which is actually around 8 cups of whole strawberries), and just 2 cups of sugar, which is decidedly less than the amount of sugar in my favourite pectin-free strawberry jam recipe.
You can reduce the sugar even more if you like, but I find the ratio of 2 cups of sugar to 4 cups of mashed strawberries to be just the right balance of sweetness without overpowering the fresh strawberry flavor in this recipe.
That being said, if you’re looking for a low-sugar strawberry jam recipe with as little sugar as possible, feel free to reduce the sugar in this recipe to as little as ¾ cup of sugar for every 4 cups of mashed strawberries.
Can I use regular pectin to make low-sugar jam?
The real trick to making low-sugar jam is in the pectin you use. Unfortunately you can’t use standard store-bought pectin to make low-sugar jam because the pectin mixture requires a large amount of sugar to set properly. Pectin-free jam is similar; You need quite a bit of sugar to get your jam to gel.
But low-sugar pectin is crafted specifically for low-sugar jam, which means you can use significantly less sugar in your homemade jam.
There are a few different brands of low-sugar pectins available, but Pomona’s pectin is by far the most popular choice. It’s the only low-sugar pectin I use, and while it does cost a little more than regular pectin, I’ve had success with it every single time. You don’t even need to do a gel test when using Pomona’s pectin! So long as you follow the directions, in my experience it will set every time, no problem.
How does Pomona’s pectin work?
Unlike regular store-bought pectin, Pomona’s pectin calls for the addition of calcium water, which is what activates the gelling properties of the pectin.
Every package of Pomona’s pectin includes both pectin and a packet of calcium powder, which you mix with water before adding it to your homemade jam.
Extra calcium water can be stored in the fridge for months, or can be frozen for long-term storage so it doesn’t go to waste. I just made a fresh batch of low-sugar strawberry jam with some calcium water I’ve had in the fridge since last summer. When you’re ready to use it, just pull it out of the fridge and give it a shake, or defrost it first if stored in the freezer.
When it comes to the actual pectin, one important difference between Pomona’s pectin and standard powdered pectin is that Pomona’s pectin needs to be mixed with the sugar BEFORE being added to the fruit mixture. This is because Pomona’s pectin is pure pectin, whereas other brands are usually mixed with dextrose. This makes Pomona’s pectin extra potent, which means it will clump quickly and easily if added directly to your fruit/jam mixture while cooking.
I’ve messed this part up a couple times and regretted it each time. Last time I made a red berry jam and added the pectin directly to the mixture as it was cooking. I ended up with hard clumps of pectin throughout the jam. While the jam is still delicious and totally edible, I find myself having to pick out the lumps of pectin when I spread it on toast, etc.
The best way is to add the pectin to the sugar first and mix it thoroughly, so it incorporates into the jam better and lumps and clumps are no issue.

This is what Pomona’s pectin calcium water looks like once it’s mixed up. It will store in the fridge for up to about a year.
Do I have to do a gel test when using Pomona’s pectin?
One of my favourite things about using Pomona’s pectin is that you don’t need to do a gel test to ensure your jam or jelly has set before canning. While it is possible to have jam that fails to set when using Pomona’s, it’s much less likely than when using regular pectin, which I always find to be hit and miss.
I’ve never had a problem with my low-sugar jams setting and gelling when using Pomona’s pectin, and I’ve never had to do a gel test. So long as you follow the directions and use the correct amount or of ingredients, you should have no problem either.
Can I use honey in place of sugar in low-sugar jam?
Yes! You can use honey as a sugar substitute if you prefer. If using honey, you can use as little as ½ cup of honey or up to 1 cup of honey to sweeten your jam. (Honey is naturally sweeter than regular sugar, which is why you can use even less).
The thing about honey is that it’s expensive. And when you heat the honey up to a boiling point during the canning process, you destroy any of the naturally occurring health benefits that are present in raw honey. So I usually don’t bother using honey in my canning recipes. The one exception being my home-canned peaches with honey, but in this case I prefer the flavor of honey in the syrup.
The choice is yours though! If you’re looking to eliminate refined sugar altogether, you can absolutely use honey in this recipe instead.
You can also use agave syrup as a sugar substitute. Just use it as you would use honey in this recipe.

Can I double this recipe?
Yes! Feel free to double the recipe for a bigger batch. I’ve doubled this recipe many times and had no problem, however tripling is not recommended as results can vary when tripled. Plus, you need quite a large pot both to cook the jam and to can it if doing large batches, so stick to small batches for best results.
Can I freeze this jam instead of can it?
While I haven’t personally tried converting this recipe to a freezer jam recipe, you can turn any low-sugar jam recipe made with Pomona’s pectin into a freezer jam recipe instead of canning it. Just follow the recipe until the point where you transfer your jam into canning jars. Then let it sit at room temperature until it has cooled completely before storing in the freezer.
You may want to leave a little extra room at the top of your jam jars too, just in case your jam expands a bit in the freezer.
All of this being said, this is a really easy recipe to can and you don’t need much in the way of tools. Plus, your jam will be shelf stable and won’t take up precious freezer space. If you’re new to canning, check out this post on water bath canning for beginners for everything you need to know to get started.
Can I make this jam with frozen fruit or do I have to use fresh fruit?
One of the great things about jam is you can make it with either fresh or frozen fruit. Since Pomona’s jam calls for mashed fruit, it’s even easier to measure out the exact amount of mashed strawberries whether using fresh or frozen. If using frozen strawberries, simply defrost them first and then mash them up. Just be prepared for your hands to get cold while mashing them, or use a potato masher instead!

How long will this jam last on the shelf?
Once canned, this low-sugar strawberry jam will store on your shelf for up to a year.*
- I use an asterisk because this is a very loose recommendation. In reality, most homemade jam is still totally edible beyond the one-year mark, however you may notice the quality begin to degrade. The jam may begin to separate, leaving a bit of liquid at the top, or it may begin to go off-colour.
Since this is a low-sugar strawberry jam recipe, it’s very normal for the jam to start off bright red and then turn brown in colour as it ages. It’s still perfectly safe to eat and still tastes delicious!
You may also notice a bit of white film on the top of your jam. This is most likely just a but of foam from the jam and is completely harmless. If it looks and/or smells moldy though, it’s best to toss it out. Always be sure to wipe the rim of each jar before placing your jar lids on and remove the bands from your jars once they’ve cooled to ensure they have actually sealed and to prevent mold from growing.
What tools and equipment do I need to can low-sugar strawberry jam?
If you’re ready to can up some low-sugar strawberry jam, you’ll of course need some strawberries! As I mentioned earlier, you can use either fresh or frozen strawberries. I always recommend using organic fruit for jam because personally I like my jam without a side of pesticides. I also purchase strawberries locally and in-season as they will yield the best strawberry flavor. But you can technically use any strawberries you like.
You’ll also need some Pomona’s pectin. You can order some here if you can’t find any in your local grocery stores.
As for canning tools and equipment, you can check out a full list of everything I use and recommend right here, but in short you’ll need a boiling water bath canner (or a large stockpot with a rack in the bottom), jar lifters, a canning scoop (or large soup ladle), and a canning funnel.
This canning set has everything you ned to get started, including a 7-quart canner and all of the canning tools you’ll ever need.
You’ll also need canning jars and lids. Only use approved Mason jars for canning. Do not reuse jars from the store because they do not fit proper canning lids.
Most importantly, you need to use new jar lids every time you can. You can reuse the bands (also known as rings), and/or you can purchase reusable canning lids. But if using standard metal canning lids, they are only made to seal once, so you need to use new ones every time you can food.
I love Denali canning lids. They’re super durable and have an excellent seal rate, and you can purchase them in bulk and save money. Denali also sells water bath canners and other canning supplies. Check out everything Denali has to offer right here.
If you try this recipe out, I’d love to hear what you think! Leave a review and/or a comment below and let me know how this recipe works out for you (and if you’ll ever be going back to traditional recipes for strawberry jam with high sugar content again!)
I still have questions!
Whether you’ve never canned anything before or you’ve done a little home canning and you’re ready to take the next step, my Yes, You CAN! complete home canning course will walk you through everything you need to know to get started canning food SAFELY at home.
Over the course of 12 easy-to-follow lessons, we cover both water bath canning and pressure canning, and I show you step-by-step how to can your own jams, jellies, pickles, pie fillings, fruits, vegetables, tomato sauce and chicken stock at home. And of course we’ll go over safe canning practices, equipment and over all best practices in more depth so that you always feel confident both during the canning process and while enjoying your home-canned food afterwards.
You’ll also get a collection of bonuses including:
- Printable checklists and cheatsheets to help you stay safe and never miss a step while canning food at home
- My bonus Jam and Jelly Making Mini-Course to help you make and can your own jams and jellies with store-bought pectin, no pectin and even low-sugar
- A copy of my Home Canning Handbook, complete with 30 of my favourite home canning recipes for canning everything from fruits and vegetables to jams and jellies to sauces and salsa to stocks, soups, meats, combination meals and more!
If you’re ready to get started home canning (or canning more food than ever before this year!) enroll now and get started stocking your pantry!

Low Sugar Strawberry Jam with Pomona's Pectin
This low-sugar strawberry jam recipe is made with Pomona's pectin and preserves the bright, fresh taste of summer strawberries all year long (without the insane amounts of sugar!)
Ingredients
- 4 cups mashed strawberries
- 2 cups sugar
- 2 tsp Pomona’s pectin
- 2 tsp calcium water (See note below)
Instructions
- Prepare canner, jam jars and lids.
- Prepare and measure out 4 cups of mashed strawberries and add to a large stainless steel bowl.
- Add the calcium water and stir well to combine.
- In a separate bowl, add the pectin to the sugar and mix well to combine.
- Bring mashed strawberries to a boil and add the sugar and pectin mixture. Stir to dissolve and continue stirring until the mixture returns to a full boil. Boil, stirring constantly for 2 minutes. Then remove from heat.
- Ladle hot jam into jam jars, leaving ¼ inch headspace.
- Remove air bubbles and adjust headspace as needed. Wipe the rim of each jar, place lids on top and screw down bands.
- Place jars in canner and ensure they're completely submerged in water before placing the canner lid on. Bring water to a full rolling boil and process for 10 minutes. (If you're above sea level, adjust time for altitude by adding 1 minute for every 1,000 feet above sea level.)
- Once time is up, turn off the heat, take the lid off the canner and set the timer for another 5 minutes before removing jars from the hot water. Once 5 minutes is up, remove hot jars from the canner and let them cool on the counter completely before storing in a cool, dark place.
Notes
Each box of Pomona’s pectin comes with a packet of pectin and a packet of calcium powder. To make the calcium water, mix 1⁄2 tsp calcium powder with 1⁄2 cup a water in a small glass jar and shake well to combine. (I use a 4oz jelly jar). Extra calcium water will store in the fridge for months, or can be frozen for long term storage and thawed to make future batches of jam.






0 Comments