

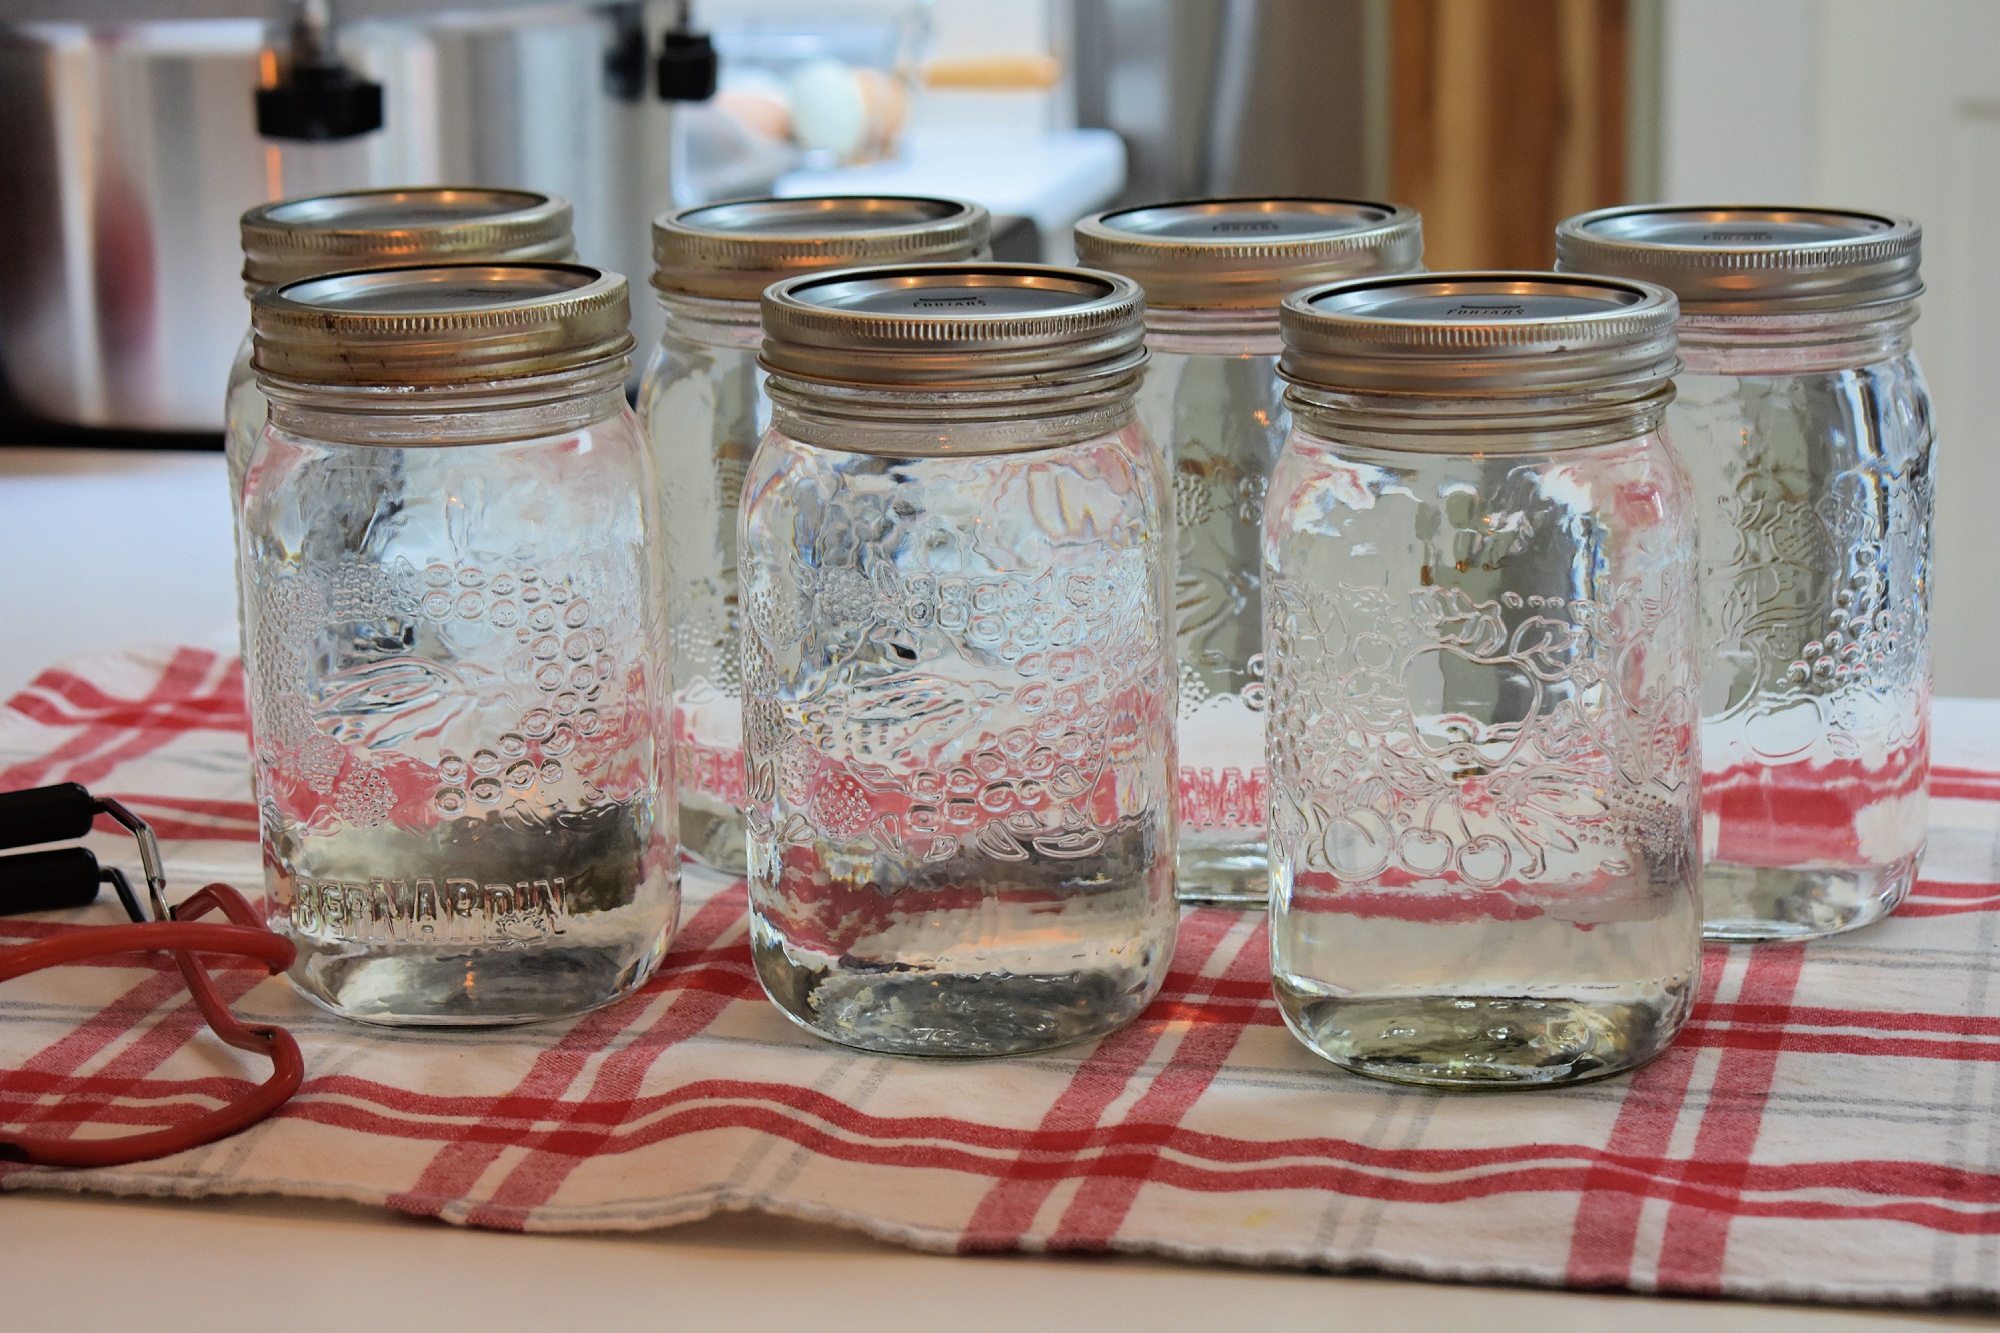
 Learn how to can water for emergencies with this easy, step-by-step guide and build a long-term supply of safe drinking water so you’re prepared for any emergency.
***
It may seem a bit frivolous to “waste” perfectly good Mason jars by preserving clean drinking water, especially when you can buy a huge amount of bottled water in plastic containers for just a few dollars. However, there are many reasons why canning water in glass jars is actually a really good idea, especially when it comes to preparing for emergency situations.
Clean drinking water is absolutely essential in any emergency preparedness plan. Humans can only survive for 72 hours without drinkable water. The CDC and FEMA both recommend storing at least a half gallon of drinking water per person, per day, and recommend that you store a 3-day supply of water in case of a water emergency. Whether it’s a prolonged power outage, natural disaster, or another water-related emergency, having enough water on hand is crucial for every single family member in your home.
Many people don’t realize that you can actually can jars of drinking water through both the water bath canning and/or pressure canning method, providing an emergency water supply with a long shelf life that’s safe to drink for years (and possibly even decades) to come. I recently opened a jar of water I canned 3 years ago simply because our Berkey water filter had run dry and I didn’t want to drink unfiltered tap water. The canned water tasted just as fresh as the day I canned it.
Why Canning Water is a Good Idea
1. Water is essential.
This one might sound obvious, but it’s worth stressing. Every emergency kit should contain at least some clean drinking water. As previously mentioned, drinkable (a.k.a. “potable”) water is THE most essential requirement for human life in an emergency situation. Having water stored in a variety of different ways and methods is a critical part of any emergency preparedness plan.
2. Fill up extra space in the canner.
If you’re going to be spending the time and energy to process a few jars of pickles or jam, it’s a great idea (and extremely easy!) to toss a couple of extra jars of potable water into the canner. By doing this, you can slowly build up your emergency water storage over time.
3. Put Mason jars to good use when you’re not using them to store food
If you can a lot of food like I do, you inevitably find yourself with tons of empty jars that require storage once you’ve eaten last season’s contents out of them. Rather than having a whole bunch of empty jars taking up space on your shelves, why not fill some of them with emergency drinking water?
You can pour out (or drink) the water and use the jars for canning food later in the year if needed. The only catch is that you do need to use new lids for canning water, just as you do for canning anything else.
4. Glass is safer for long-term storage.
Plastic water bottles can leach nasty chemicals into water, especially when stored long-term. In fact, it’s usually not recommended to consume water from plastic bottles once they’re over a year old. Glass jars don’t have that issue, making storage in glass a much safer—and more long-term—alternative to plastic bottles. Standard canning jars like pint and quart-size Mason jars work great!
5. It’s safe, easy, and free!
You can use either a water bath canner or a pressure canner to can water, and it’s super safe so long as you follow the directions correctly. In fact, it’s one of the easiest ways to dip your toe into the world of canning, making it a perfect project for first time canners. Increasing your supply of stored water over time is just an added bonus:)
Can I Store Water in Mason Jars Without Canning It?
The short answer is: NO.
Water will spoil if stored in Mason jars or glass bottles without actually canning it—ask me how I know!
Okay, I’ll tell you… In 2020, when COVID first hit, I decided to it would be wise to store some drinking water in glass flip-top bottles—just in case. I sterilized the bottles, boiled the water, then poured the water in the sterilized bottles and stored it in a cool dark place. Luckily, we never ended up needing that emergency water, but about a year later I decided to pull out the bottles just to see how it had held up. Every bottle of water had a thin layer of mold floating at the top. I dumped all of them down the drain.
Contrast that to the water I canned back in 2023… I just opened a jar the other day (March 2026) and it was perfectly fine and tasted just as fresh as the day it went in the canner.
The canning process kills bacteria while creating an airtight seal on the jar, preventing future spoilage and keeping your home canned drinking water safe and shelf stable for many years!
If you’re going to go through the little bit of trouble to store water for emergency use, take the extra step and just can it. It takes less than an hour all-in to prepare your jars, boil your water, and can it so it’s ready to go on your shelf.
How To Can Water For Emergencies
The basic process of canning water is similar to anything else you would process in a canner. You’ll want to be start with clean, sterilized jars that are simmered in hot water to prevent temperature shock.
It’s very important that you don’t add any additions to your water that will be canned: no sugars, salts, minerals, flavourings, etc. Only clean drinking water (tap or filtered is fine) should be used.
Important Note: Use only potable water for canning that has been properly filtered or disinfected. While the canning process will kill most bacteria, viruses and parasites, it will not destroy other contaminants that may be in drinking water, such as heavy metals, salts or other chemicals. The information here and the canning instructions that follow are from the National Center For Home Food Preservation, however the processing time and instructions are not known to kill botulism spores, so it’s important to ensure that the water you’re canning is pure and does not contain any added or residual nutrients.
Ingredients & Supplies for Canning Water
- Pure drinking water (tap or filtered)
- Large stockpot
- Canner (water bath or pressure canner)
- Clean, sterilized Mason jars (pints or quarts) and fresh, new lids
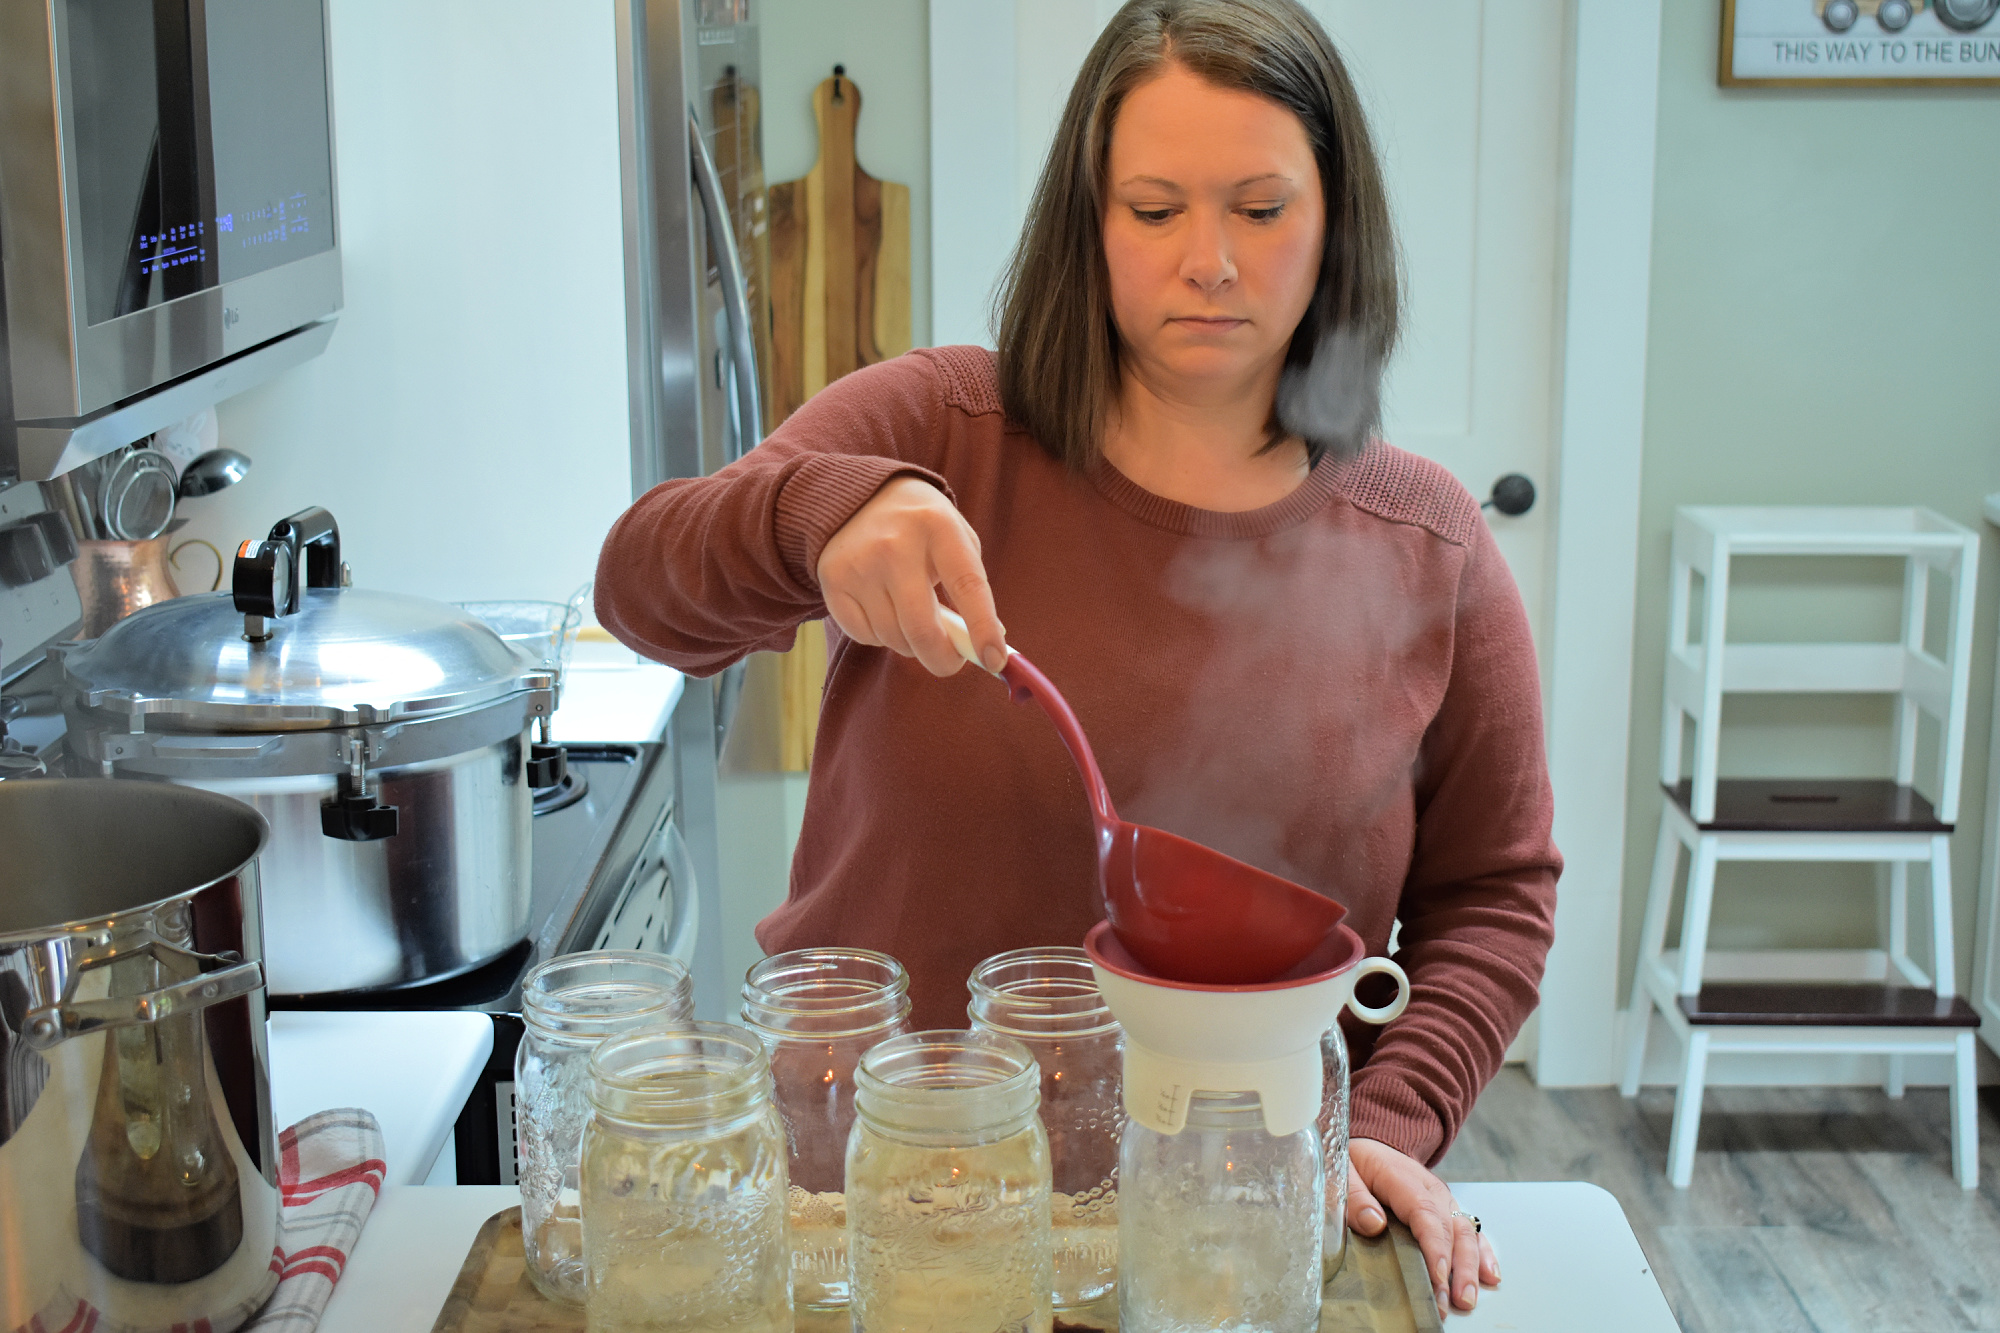
- Canning tools (jar lifter, canning scoop, canning funnel, etc.)
Directions for Canning Water At Home
Step 1: Prepare your canner, jars, and lids according to the method you’re using (water bath or pressure canning).
Step 2: Bring drinking water to a full rolling boil in a large pot. Boil for 5 minutes.
Step 3: Carefully fill the prepared jars with hot water, leaving a little headspace at the top—1/2 inch headspace if water bath canning, or 1 inch headspace if pressure canning.
Step 4: Wipe jar rims and secure lids with rings. (I use ForJars canning lids. You can buy them in bulk and they have a great seal rate! Use code ANNA10 for 10% off.)
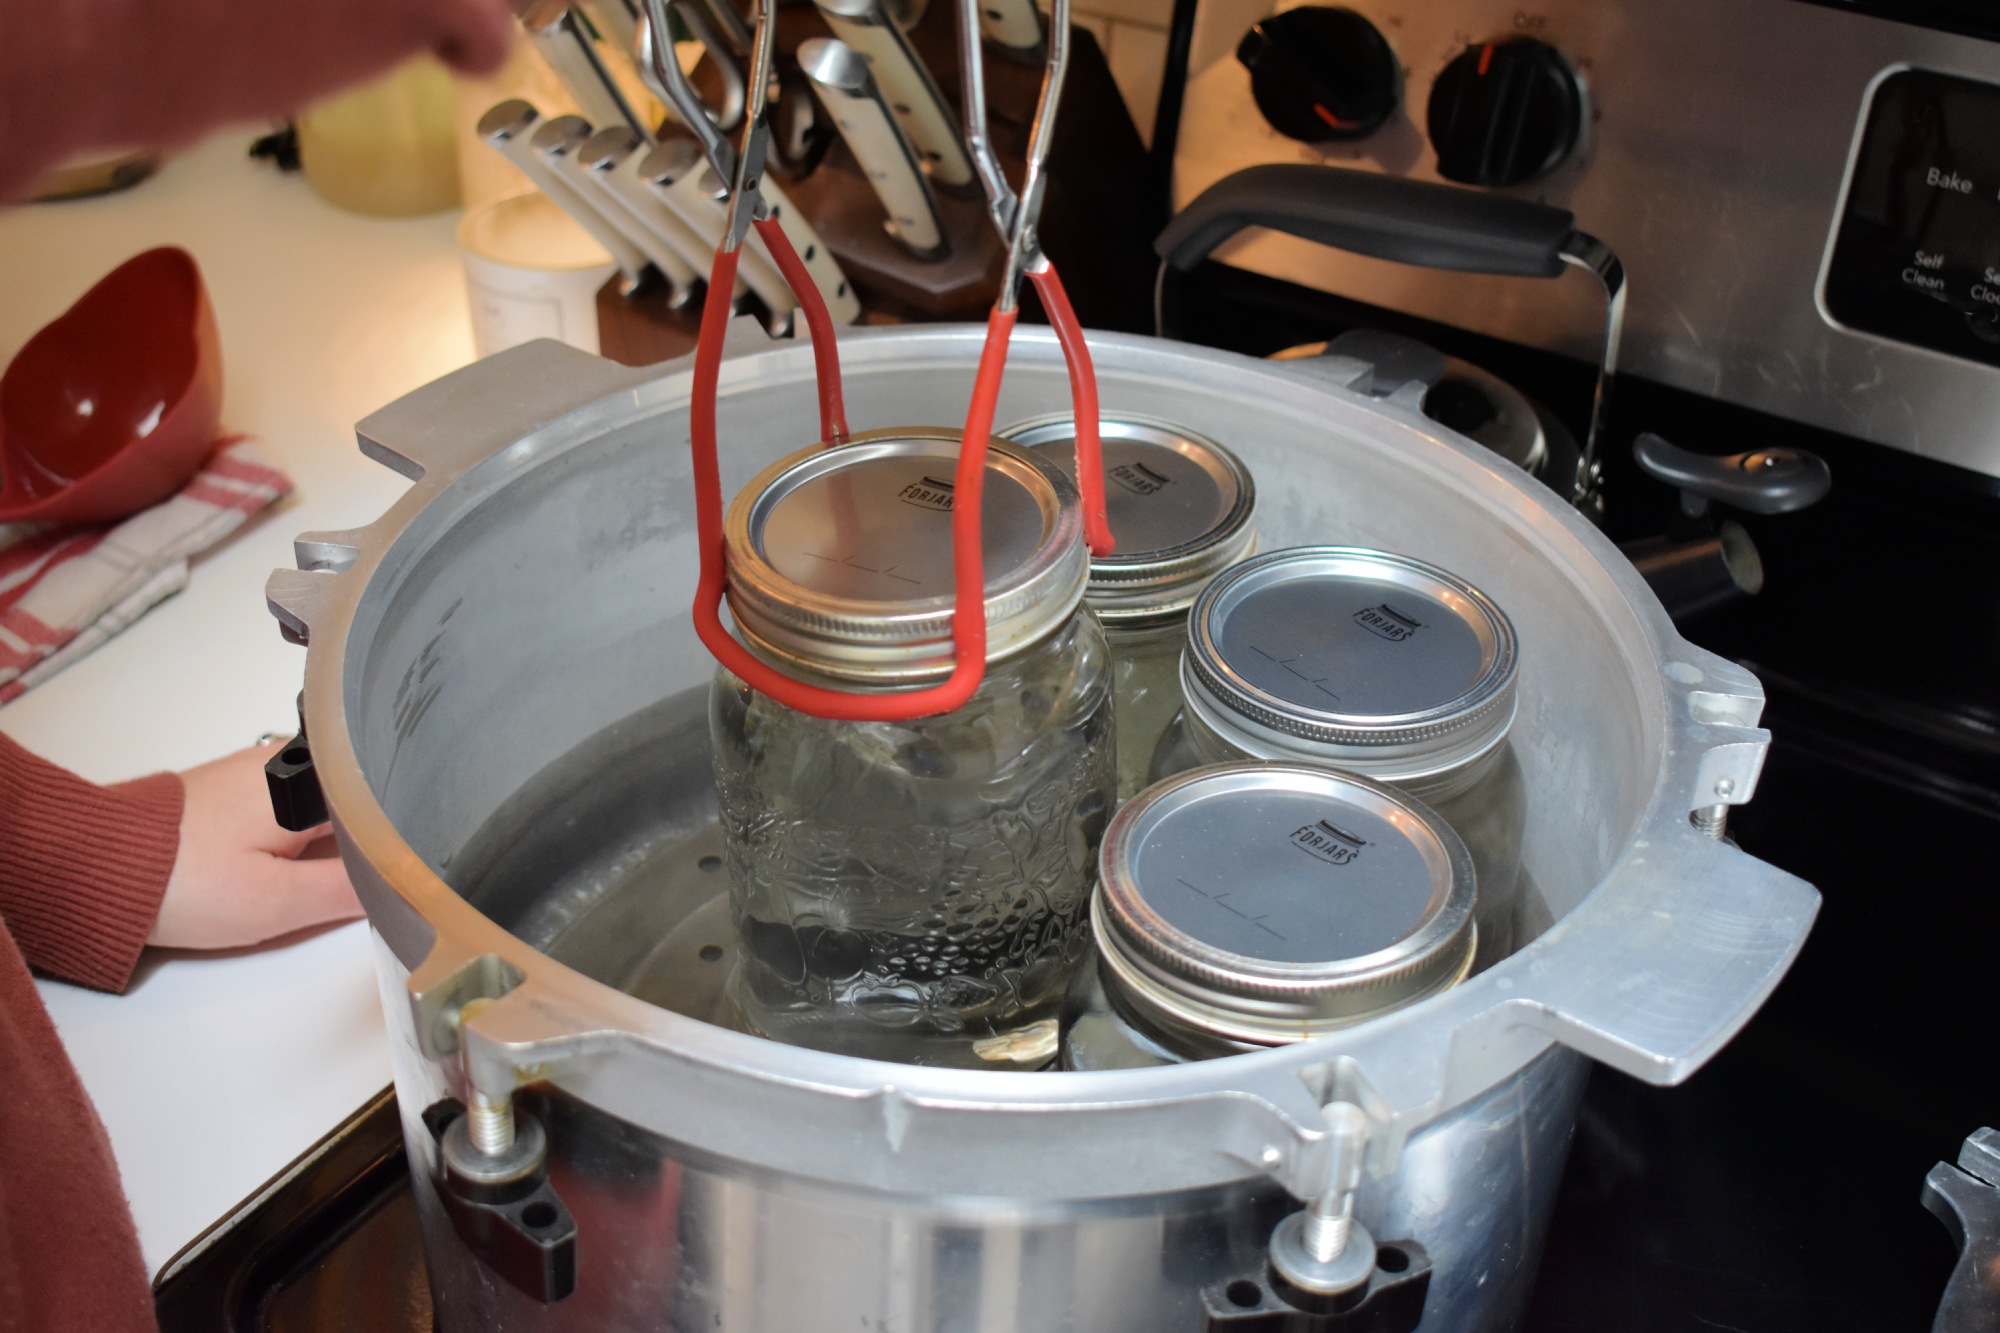
Step 5: Process the jars in the canner for the recommended time for your method:
If water bath canning: process jars for 10 minutes (see Altitude Adjustment Chart below if you’re more than 1,000 feet above sea level).
If pressure canning: process jars at 10 pounds of pressure for 10 minutes.
Step 6: Once processing time is complete, remove lid from water bath canner and let jars sit for an extra 5 minutes in the canner, before removing them.
If pressure canning, allow pressure canner to depressurize completely, then remove lid and let jars sit for an additional 10 minutes before removing.
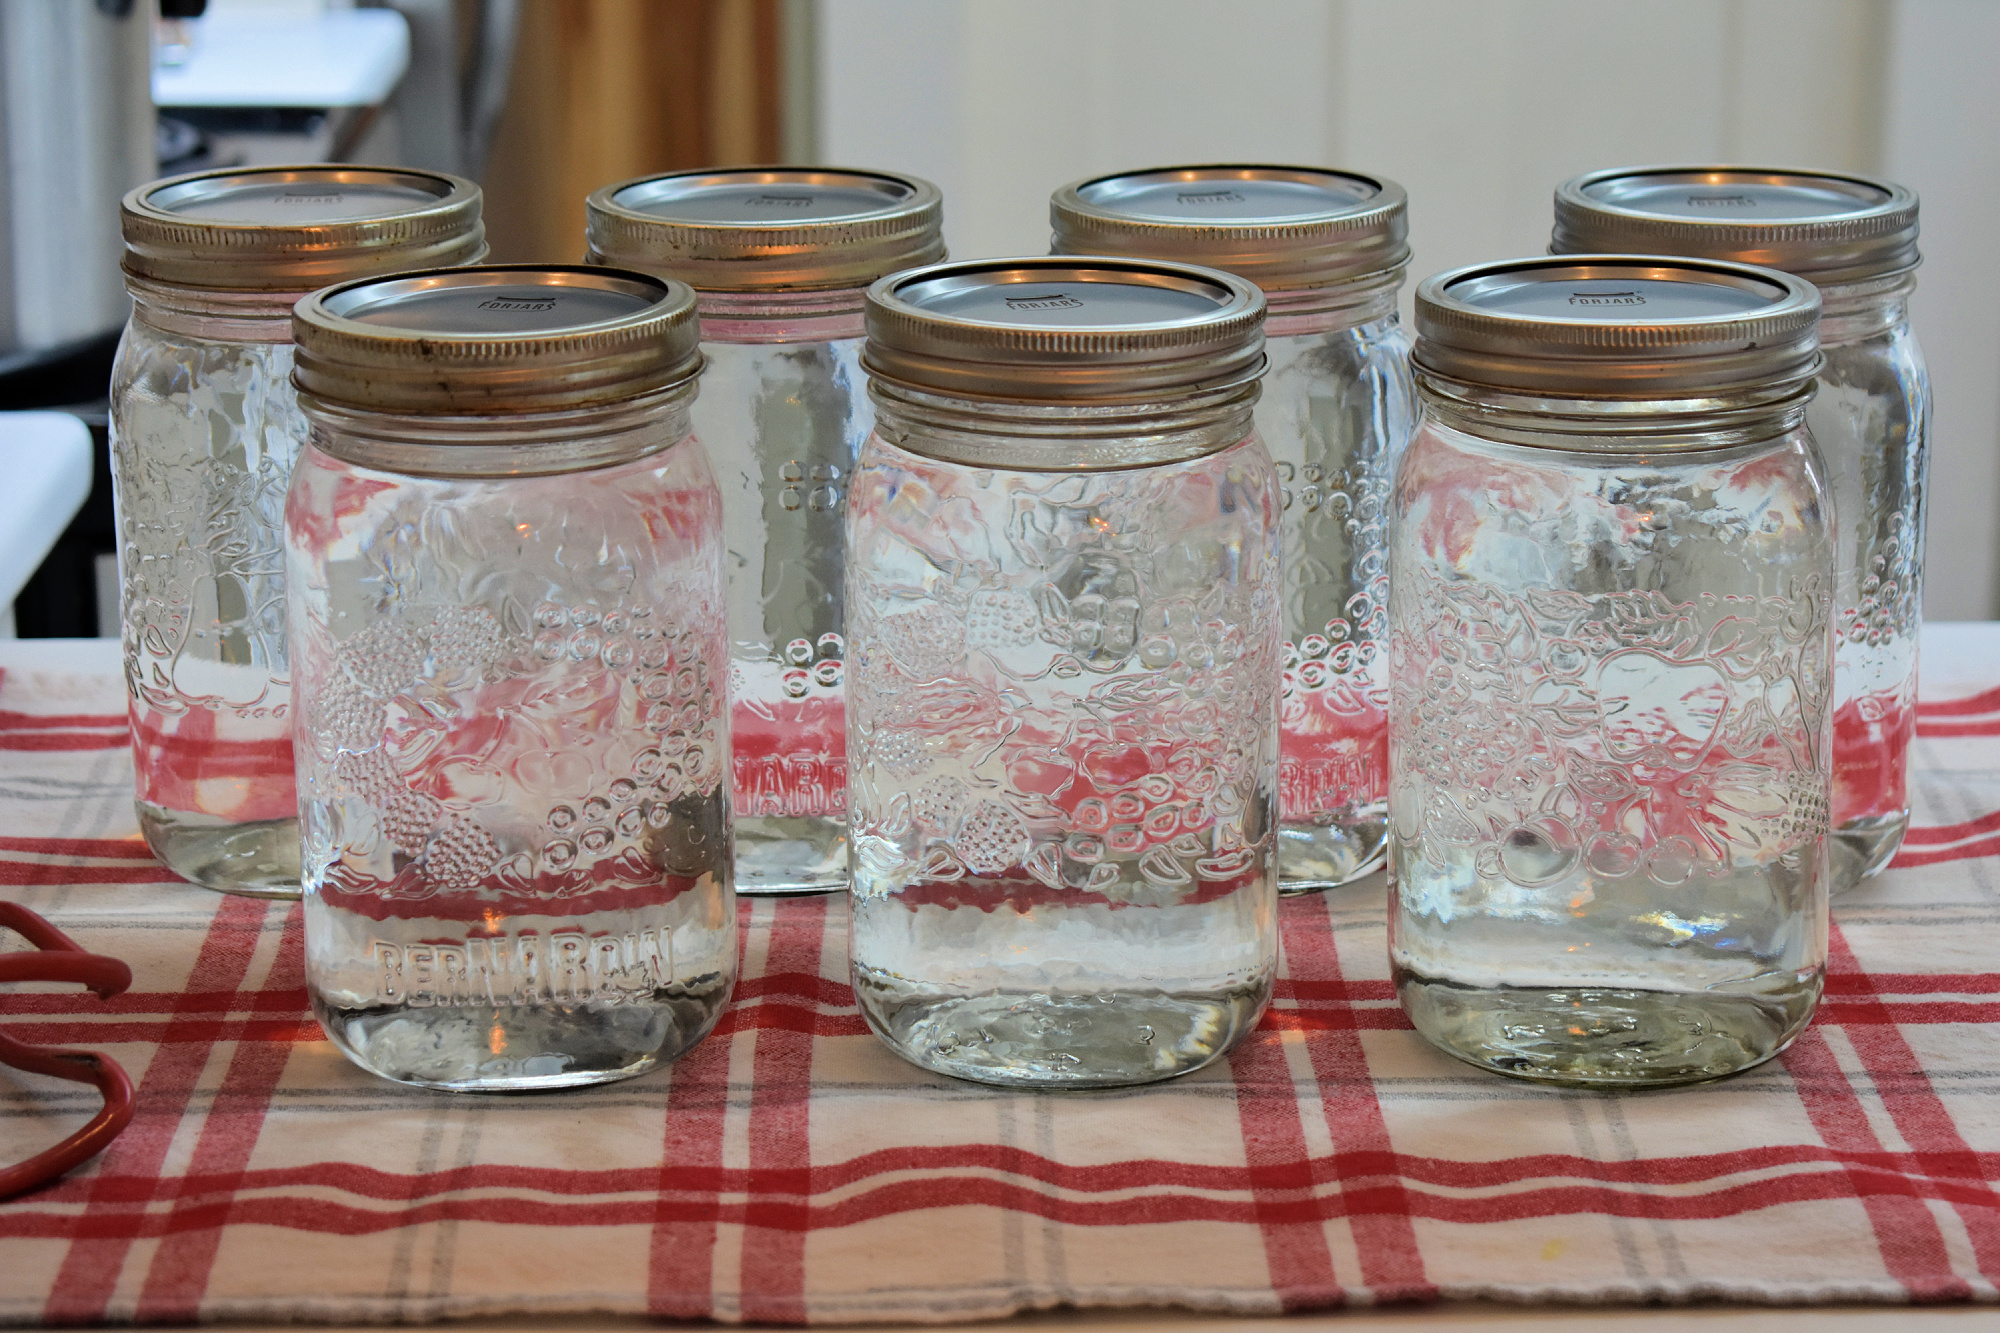
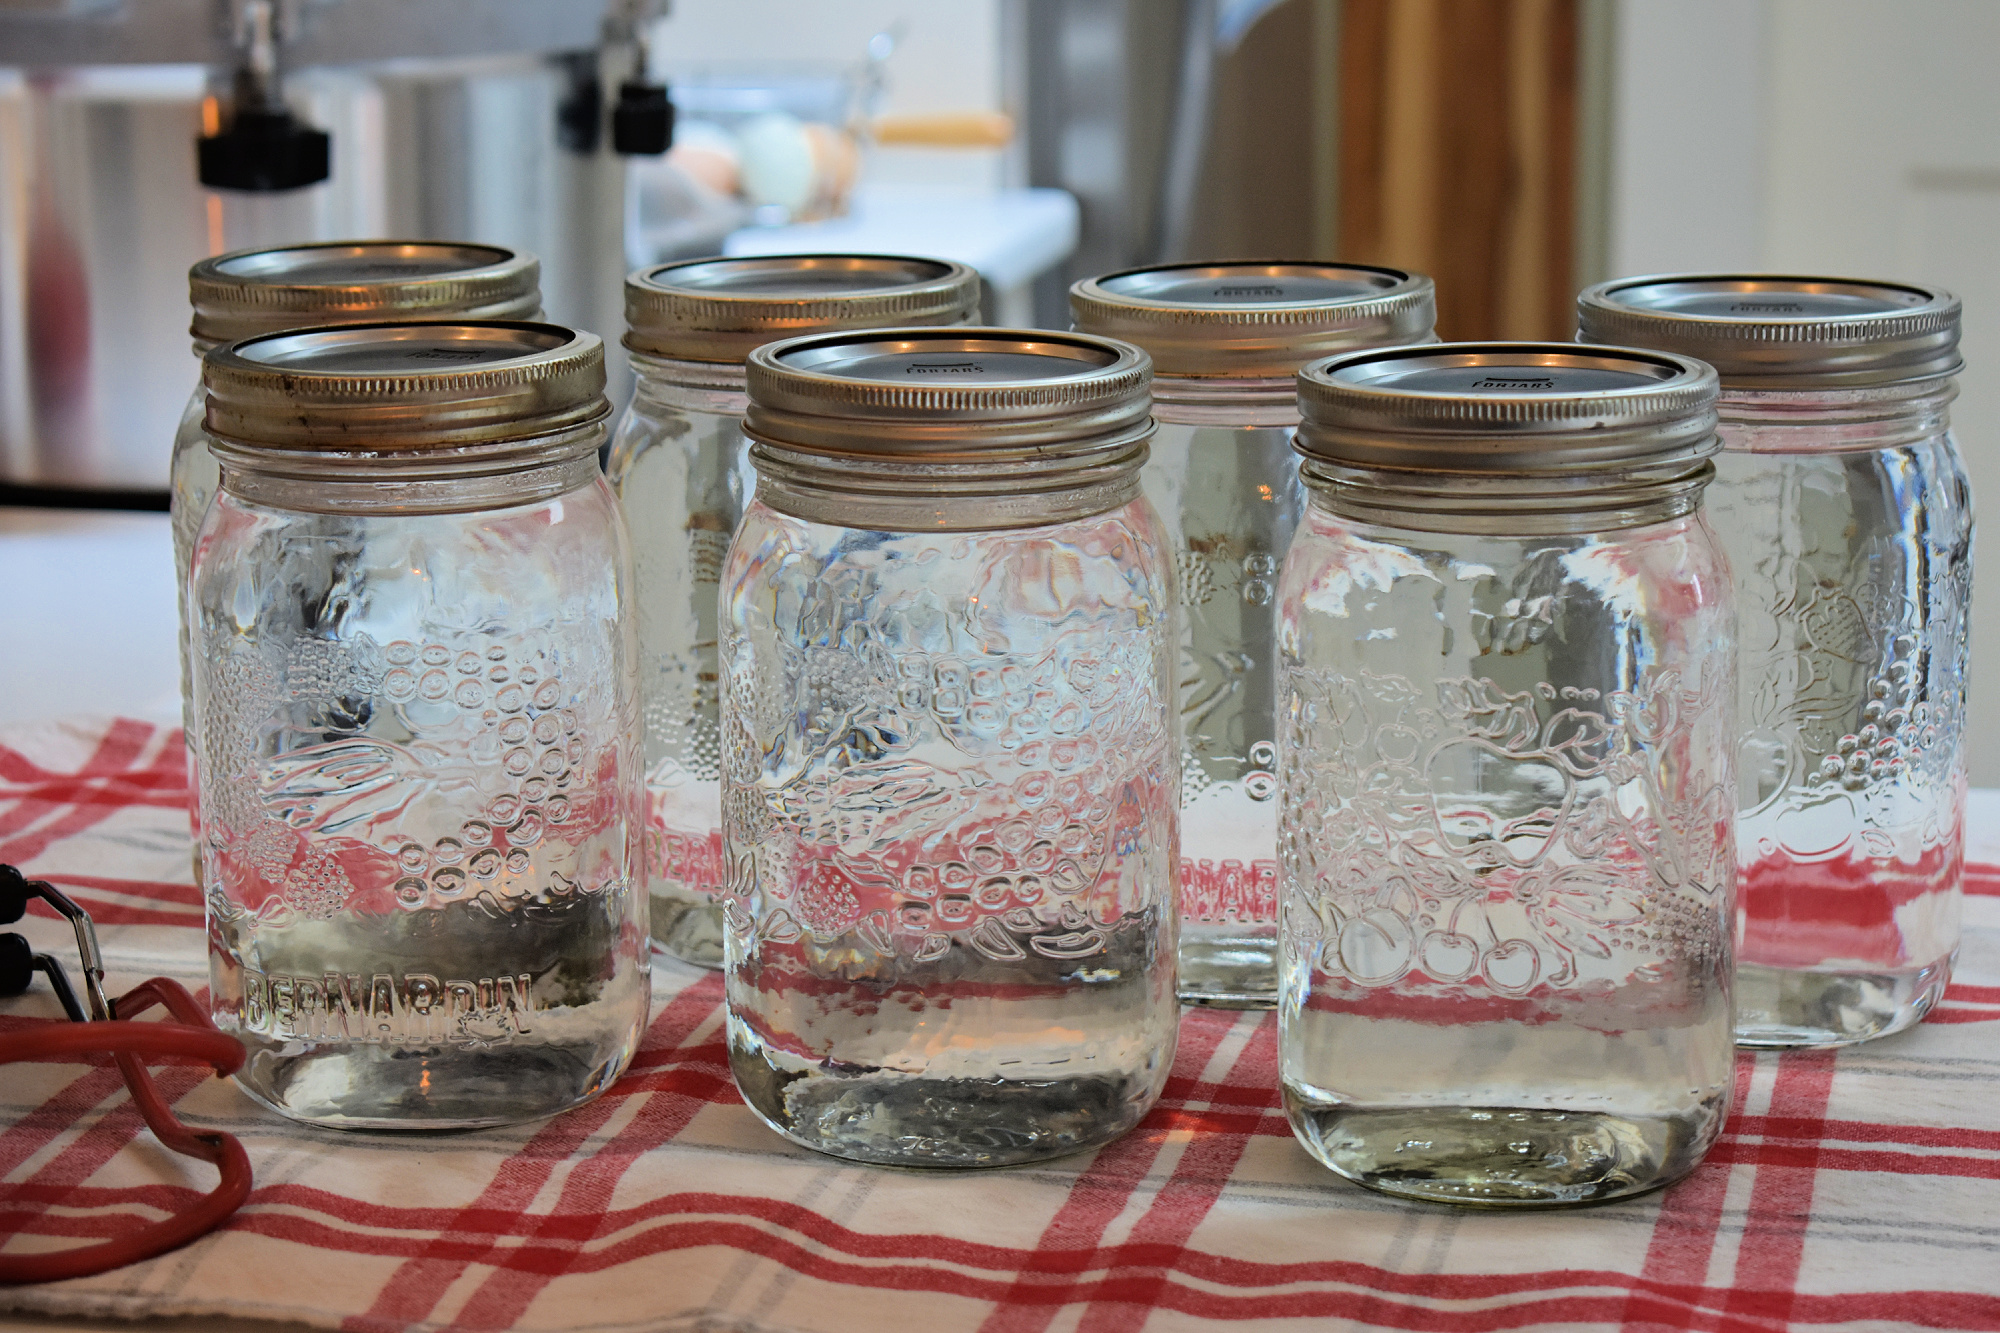
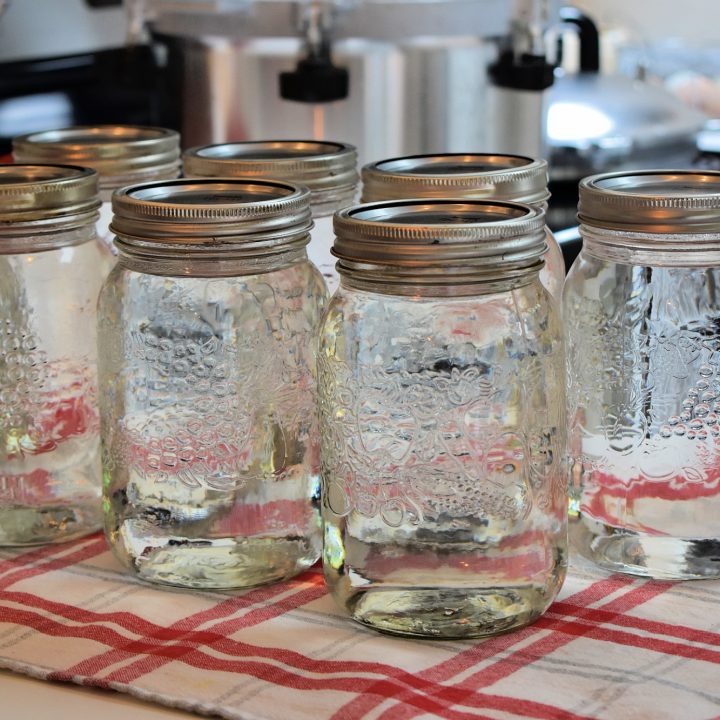
Step 7: Let jars cool completely on a towel, then sit undisturbed for 12 to 24 hours. Once fully cooled, remove the bands and store the sealed jars in a cool, dark place, away from direct sunlight.
Adjusting Processing Times for Higher Altitudes
If you’re canning water at higher altitudes (1,000 feet or more above sea level), you’ll want to increase the processing time according to the chart below.
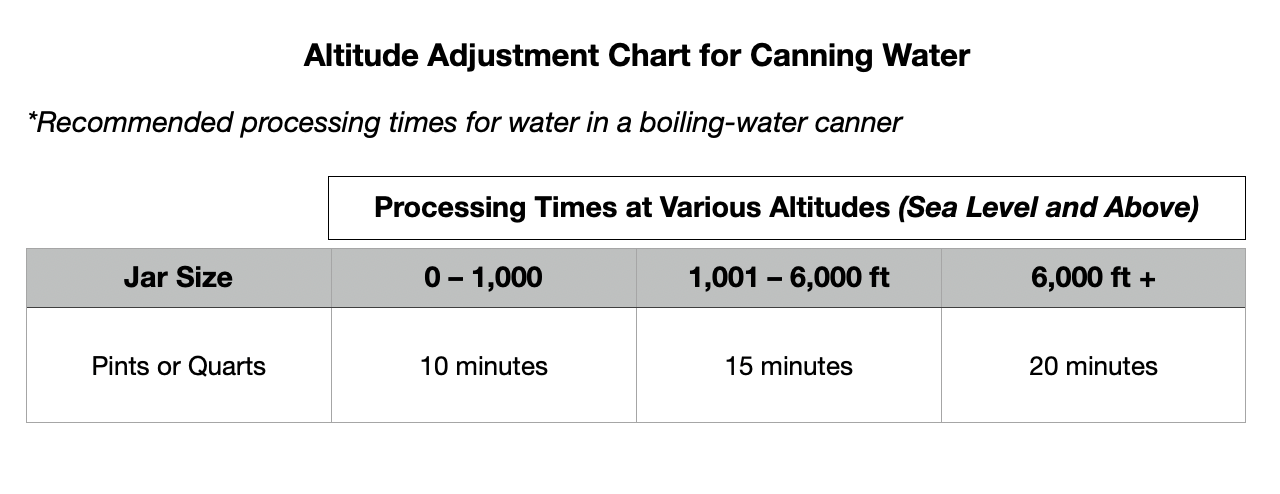
* If pressure canning, there’s no need to increase the processing time or the pounds of pressure.
How Long Does Home Canned Water Last?
Home canned water will last a long time on the shelf—years, or possibly even decades if the seal remains tight. Since it’s just water in the jar with no added nutrients or ingredients, there’s no set expiration date and you don’t have to worry about the contents degrading over time. Your canned water should be just as fresh when you open the jar as it was when it went in!
Other Emergency Water Storage and Supply Options
If you’re like me, you like to be prepared with backups for your backups. Home canned water is already a backup for my main emergency water supply, which is my Berkey water filter.
Berkey systems filter out over 99% of harmful bacteria, viruses, and other contaminants like chlorine, fluoride, pharmaceuticals, and heavy metals, and chemicals like PFAS, PFOS, PFOAS, VOCs, petroleum chemicals, and more.
I keep extra filters on hand so that I’ll always have a way to filter fresh drinking water, even in an emergency. The original Black Berkey filters are no longer sold, however, due to a Stop Sale order issued by the EPA, who classified the filters as “unregistered pesticides” due to their claims that they filtered out certain microorganisms using silver. Under the Federal Insecticide, Fungicide, and Rodenticide Act (FIFRA), products that use silver to kill microorganisms are classified as pesticides.
According to the EPA, these claims meant that Berkey filters should be categorized as a pesticide, and put sellers of Black Berkey filters in breach of the FIFRA regulations. That was in 2022. To this day, the issue has not been resolved, so other companies have developed their own filters for use in the Berkey system.
Today I use Phoenix Gravity Millennium Edition Filter Elements. They’re manufactured for New Millennium Concepts, Ltd.—one of the companies that was issued a Stop Sale order back in 2022. They’re also NSF-certified and designed to fit all size Berkey systems, and they also claim to filter out over 98% to 99% of toxic substances like chemicals, pharmaceuticals, heavy metals, and pretty much everything else that Black Berkey filters claimed to filter out. However, they can not legally make claims that they filter out any microbes or biological contaminants. You can interpret that however you like.
I’ve found them to be just as effective as the Black Berkey filters I used to use, and my Berkey system is still my primary emergency water supply.
In addition to this, I also keep a 24-case of Blue Can Emergency Drinking Water on hand. This water comes in aluminum cans (like soda cans) and lasts up to 50 years. It’s been sold out everywhere I’ve looked for a few years now, but if you can find some, it’s worth grabbing a case or two.
It’s also wise to keep some chemical disinfectants on hand, including bleach and/or water purification tablets.
For more information on emergency water storage and supply options, check out my Ultimate Guide to Emergency Water Preparedness.
Canning Water is a Simple, Low-Cost Way to Prepare for Emergencies
At the end of the day, learning how to can water for emergencies is one of the simplest ways to build a more resilient home. It’s easy, affordable, and something you can do a little at a time, right alongside your regular canning projects, or in the off-season when your jars would otherwise sit empty. Whether you’re just getting started with emergency preparedness or looking to add another layer to your preps, having shelf-stable emergency drinking water on hand offers real peace of mind.
Ready to Learn More?
If you’re eager to get started with long-term food storage in Mylar bags, be sure to check out my Practical Preparedness Crash Course. It’s a comprehensive and actionable online course with easy-to-follow video lessons and downloads that I put together so you can sleep a little bit easier knowing that you have the skills and resources necessary to weather any storm.
We dive deeper into the 6 Areas of Preparedness such as layering your food storage, emergency water preparedness, safety and security, emergency medical preparedness, and so much more.
>> Click here to learn more and start preparing now!
Canning Water For Emergencies
Learn how to can your own emergency drinking water at home with this easy, step-by-step guide. Build a long-term supply of safe drinking water and be prepared for any emergency.
Ingredients
- Pure drinking water
Instructions
- Prepare your canner, jars, and lids according to the method you’re using (water bath or pressure canning).
- In a large stockpot, bring drinking water to a hard, rolling boil for 5 minutes.
- Remove jars from canner and place on a towel on the counter to prevent thermal shock. Fill prepared jars with boiled water, leaving 1/2-inch headspace if water bath canning, or 1-inch headspace if pressure canning.
- Wipe rims and place lids on top. Screw on canning rings (bands) to fingertip tight.
- Place filled jars into the canner.
If water bath canning: bring canner to a rolling boil and process jars for 10 minutes (see Altitude Adjustment Chart below if you’re more than 1,000 feet above sea level).
If pressure canning: process jars at 10 pounds of pressure for 10 minutes. - Once processing time is complete, remove lid from water bath canner and let jars sit for an extra 5 minutes in the canner before removing them.
If pressure canning, allow pressure canner to depressurize completely, then remove lid and let jars sit for an additional 10 minutes before removing. - Place jars on a kitchen towel to cool and allow jars to sit undisturbed for 12 to 24 hours. Remove bands and store jars of water in a cool, dark place away from direct sunlight.
Notes
Altitude Adjustment Guide
If water bath canning pints or quarts at over 1,000 feet above sea level, adjust the processing time as follows:
- 0 - 1,000 feet: 10 minutes
- 1,001 - 6,000 feet: 15 minutes
- 6,000 feet+: 20 minutes
Storage Instructions
Store canned water in a cool, dark place out of direct sunlight: a room temperature pantry or cupboard is fine. Home canned water will last for many years on your shelf if stored correctly.
For more information on canning water at home, visit the National Center for Home Food Preservation to learn more.:

Related Posts:





0 Comments